使用websocket有兩種方式:1是使用sockjs,2是使用h5的標準。使用Html5標準自然更方便簡單,所以記錄的是配合h5的使用方法。
pom
<dependency>
 <groupId>org.springframework.boot</groupId>
 <artifactId>spring-boot-starter-websocket</artifactId>
</dependency>
使用@ServerEndpoint創立websocket endpoint
首先要注入ServerEndpointExporter,這個bean會自動註冊使用了@ServerEndpoint註解宣告的Websocket endpoint。要注意,如果使用獨立的servlet容器,而不是直接使用springboot的內建容器,就不要注入ServerEndpointExporter,因為它將由容器自己提供和管理。@Configuration public class WebSocketConfig { @Bean public ServerEndpointExporter serverEndpointExporter(){ return new ServerEndpointExporter(); } }接下來就是寫websocket的具體實現類,直接上程式碼:
@Component
@ServerEndpoint("/websocket")
public class MyWebSocket {
 //與某個客戶端的連線會話,需要透過它來給客戶端傳送資料
 private Session session;
 //concurrent包的執行緒安全Set,用來存放每個客戶端對應的MyWebSocket物件。
 private static CopyOnWriteArraySet<MyWebSocket> webSocketSet = new CopyOnWriteArraySet<MyWebSocket>();

 @OnOpen
 public void onOpen(Session session){
     this.session = session;
     webSocketSet.add(this);
     System.out.println("建立連線:第"+webSocketSet.size());
 }

 @OnClose
 public void onClose(){
     webSocketSet.remove(this);
     System.out.println("關閉連線");
 }

 @OnMessage
 public void onMessage(String message){
     System.out.println("接受客戶端訊息:"+message);
 }

 /**
  * 群發訊息
  */
 public void sendMessage(String message){
     for (MyWebSocket myWebSocket : webSocketSet){
         try {
             myWebSocket.session.getBasicRemote().sendText(message);
         } catch (IOException e) {
             e.printStackTrace();
         }
     }
 }
 //單發訊息可以在群發的基礎上改造
}
使用springboot的唯一區別是要@Component宣告下,而使用獨立容器是由容器自己管理websocket的,但在springboot中連容器都是spring管理的。
雖然@Component預設是單例模式的,但springboot還是會為每個websocket連線初始化一個bean,所以可以用一個靜態set儲存起來。前端程式碼
<!DOCTYPE html>
<html xmlns:th="http://www.thymeleaf.org">
<head>
 <meta content="width=device-width, initial-scale=1.0, maximum-scale=1.0, user-scalable=0;" name="viewport" />
 <meta http-equiv="X-UA-Compatible" content="ie=edge">
 <title>主頁</title>
</head>
<body>
<script type="text/javascript" th:inline="javascript">
 var websocket = null;
 if('WebSocket' in window){
     //127.0.0.1:8080 是的專案請求地址 websocket是對應@ServerEndpoint("/websocket")裡的值 合起來就是請求websocket地址
     websocket = new WebSocket('ws://127.0.0.1:8080/websocket');
 }else{
     alert("該瀏覽器不支援websocket!")
 }
 websocket.onopen = function (event) {
     console.log("建立連線");
 }
 websocket.onclose = function (event) {
     console.log("關閉連線");
 }
 websocket.onmessage = function (event) {
     console.log("接受訊息:"+event.data);
     //模擬傳送資訊給服務端
     websocket.send("我已經接受到資訊啦!")
 }
 websocket.onerror = function (event) {
     console.log("出現了錯誤")
 }
 window.onbeforeunload = function () {
     websocket.onclose();
 }
</script>
</body>
</html>
測試方法
@RestController
@RequestMapping("/testWebSocketSend")
public class TestWebSocketSendController {
 @Autowired
 private MyWebSocket myWebSocket;
 @GetMapping("send")
 public String send(@RequestParam("message") String message){
     //todo 其他業務
     //websocket服務
     myWebSocket.sendMessage(message);
     return "成功";
 }
}
開啟主頁面 127.0.0.1:8080/index.html
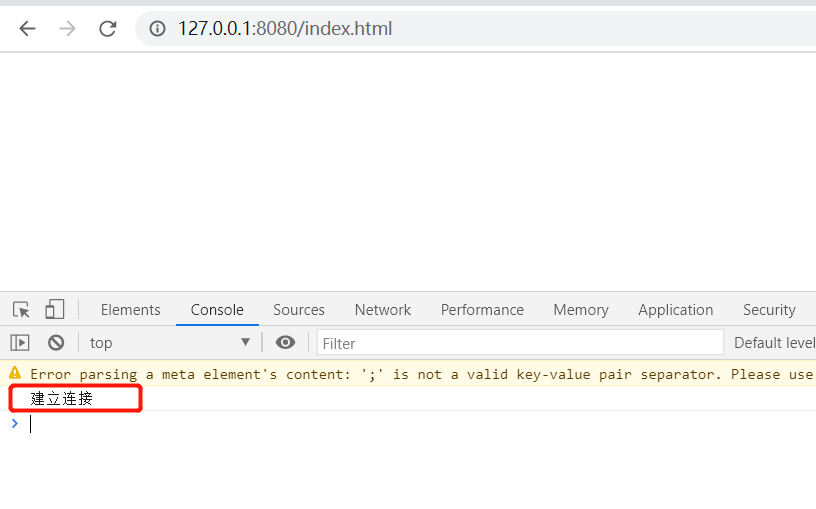
瀏覽器請求127.0.0.1:8080/testWebSocketSend/se... 我之前寫的controller地址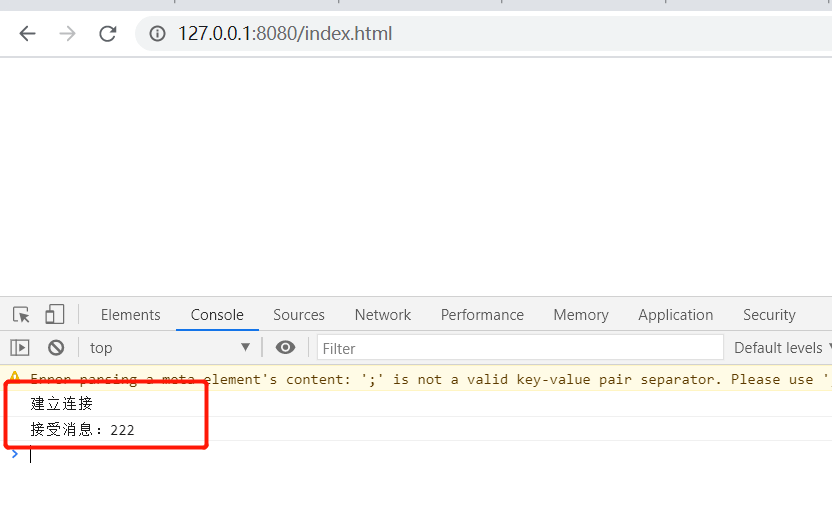
服務端接受客戶端的訊息列印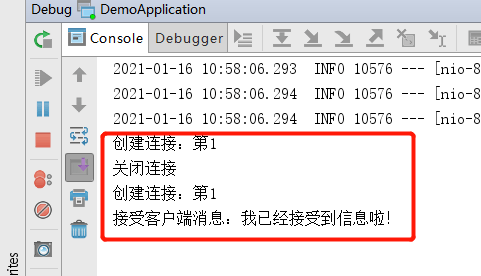
本作品採用《CC 協議》,轉載必須註明作者和本文連結