1.安裝ansible
在有安裝python情況下:
pip install ansible
或者指定版本:
pip install ansible==2.7.2
沒有安裝python情況下:
ubuntu:
apt install ansible
centos:
yum install ansible -y
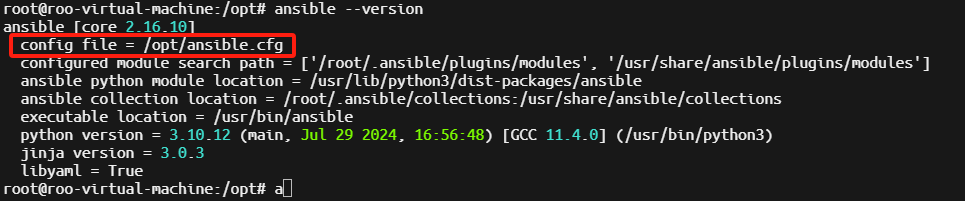
2.檢視ansible版本及配置檔案
ansible --version
3.修改ansible配置
cd /opt
nano ansible.cfg

invertory(主機清單檔案)
remote_user(遠端伺服器的使用者)
4.新增被控主機清單
nano hosts
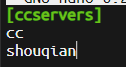
新增主機名稱
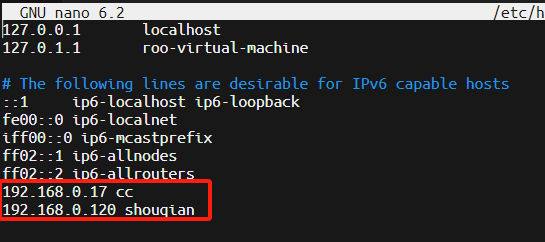
5.在本機hosts配置dns主機
nano /etc/hosts
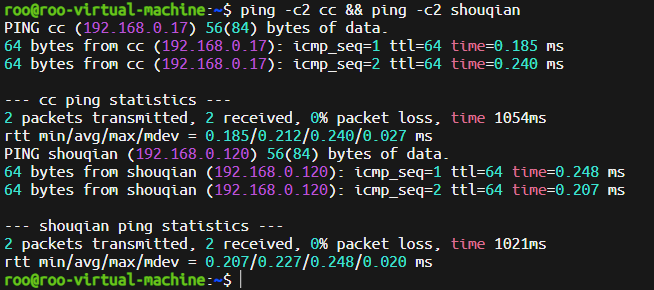
ping cc
ping shouqian
確認正常
6.安裝sshpass
apt install sshpass
7.把被控主機的ssh秘鑰複製過來
ssh-keyscan shouqian >> ~/.ssh/know_hosts

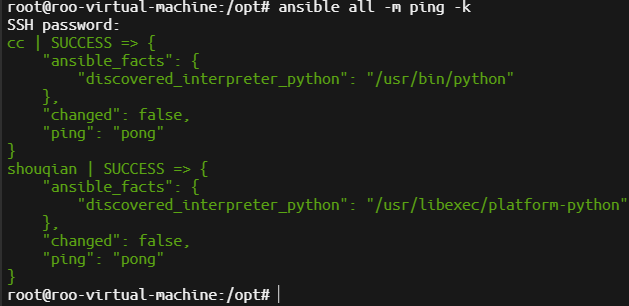
8.確認ansible正常
ansible all -m ping -k
ansible all -m shell -a "id root" -k