Vue’s component architecture enables us to build our user interface into components that beautifully organize our business logic and presentation layer. However, there are some instances where one component has some html that needs to get rendered in an alternative location. For example:
- Styles that require fixed or absolute positioning and z-index. For example, it’s a common pattern to place UI components (like modals) right before the
</body>tag to ensure they are properly placed in front of all other parts of the webpage. - When our Vue application is running on a small part of our webpage (or a widget), sometimes we may want to move components to other locations in the DOM outside of our Vue app.
Solution
The solution Vue 3 provides is the Teleport component. Previously this was named “Portal”, but the name was changed to Teleport so not to conflict with the future <portal> element which might some day be a part of the HTML standard. The Teleport component allows us to specify template html (which may include child components) that we can send to another part of the DOM. I’m going to show you some very basic usage, and then show you how we might use this in something more advanced. Let’s start by adding a div tag outside of our Vue app, in our basic Vue CLI generated app:
/public/index.html
    ...
    <div id="app"></div>
    <div id="end-of-body"></div>
  </body>
</html>
Then let’s try teleporting some text to this #end-of-body div from inside our Vue application to slightly outside the application.
/src/App.vue
<template>
  <teleport to="#end-of-body">
    This should be at the end.
  </teleport>
  <div>
    This should be at the top.
  </div>
</template>
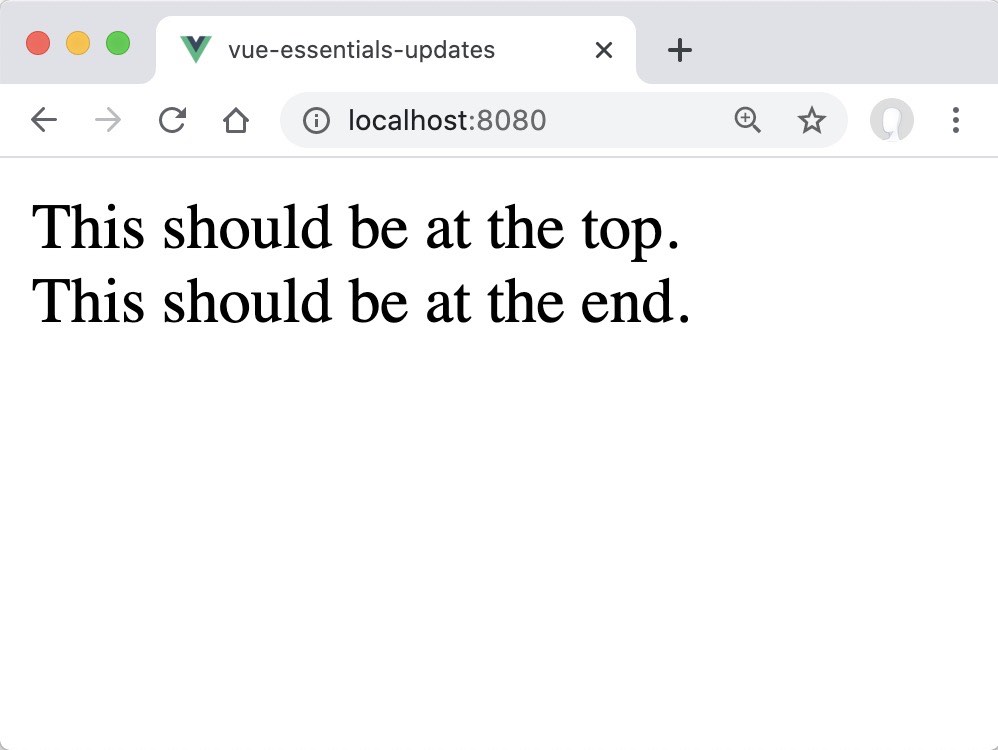
Notice the teleport line where we specify the div we want to move our template code to, and if we did this right, the text at the top should be moved to the bottom. Sure enough, it does:
(width=300)
Teleport Options for To
Our to attribute simply needs to be a valid DOM query selector. Aside from using the id like I did above, here are three more examples.
Class selector
<teleport to=".someClass">Data selector
<teleport to="[data-modal]">Using a data attribute our target div might look like:
Dynamic selector
If you needed you could even bind a dynamic selector, adding the colon.
<teleport :to="reactiveProperty">Disabled State
Modals and other pop-ups often start hidden until they are displayed on the screen. For that reason, teleport has a disabled state where the content stays inside the original component. It’s not until teleport is enabled that it will be moved to the target positioning. Let’s update the code to be able to toggle showText, like so:
<template>
  <teleport to="#end-of-body" :disabled="!showText">
    This should be at the end.
  </teleport>
  <div>
    This should be at the top.
  </div>
  <button @click="showText = !showText">
     Toggle showText
  </button>
</template>
<script>
export default {
  data() {
    return {
      showText: false
    };
  }
};
</script>
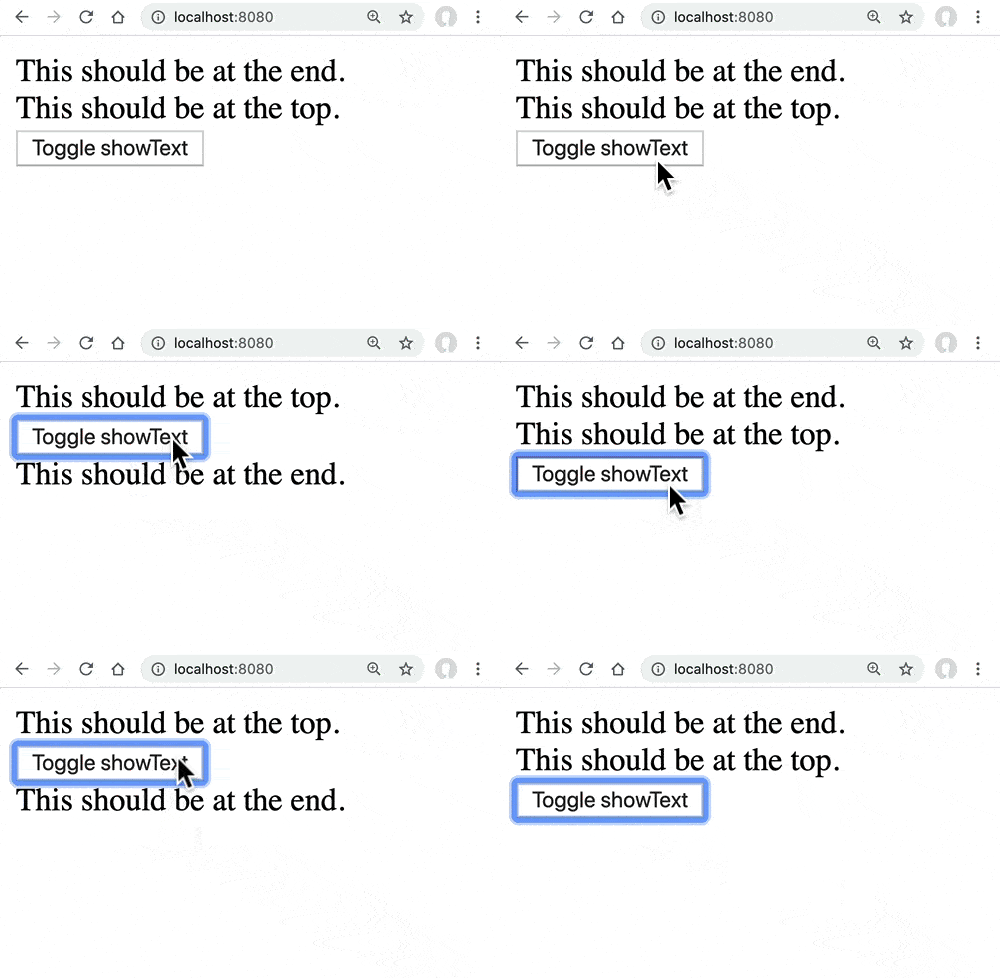
As you can see, the content inside teleport gets moved from inside the component, to outside the component as we toggle:
<01-disable.gif width=250>
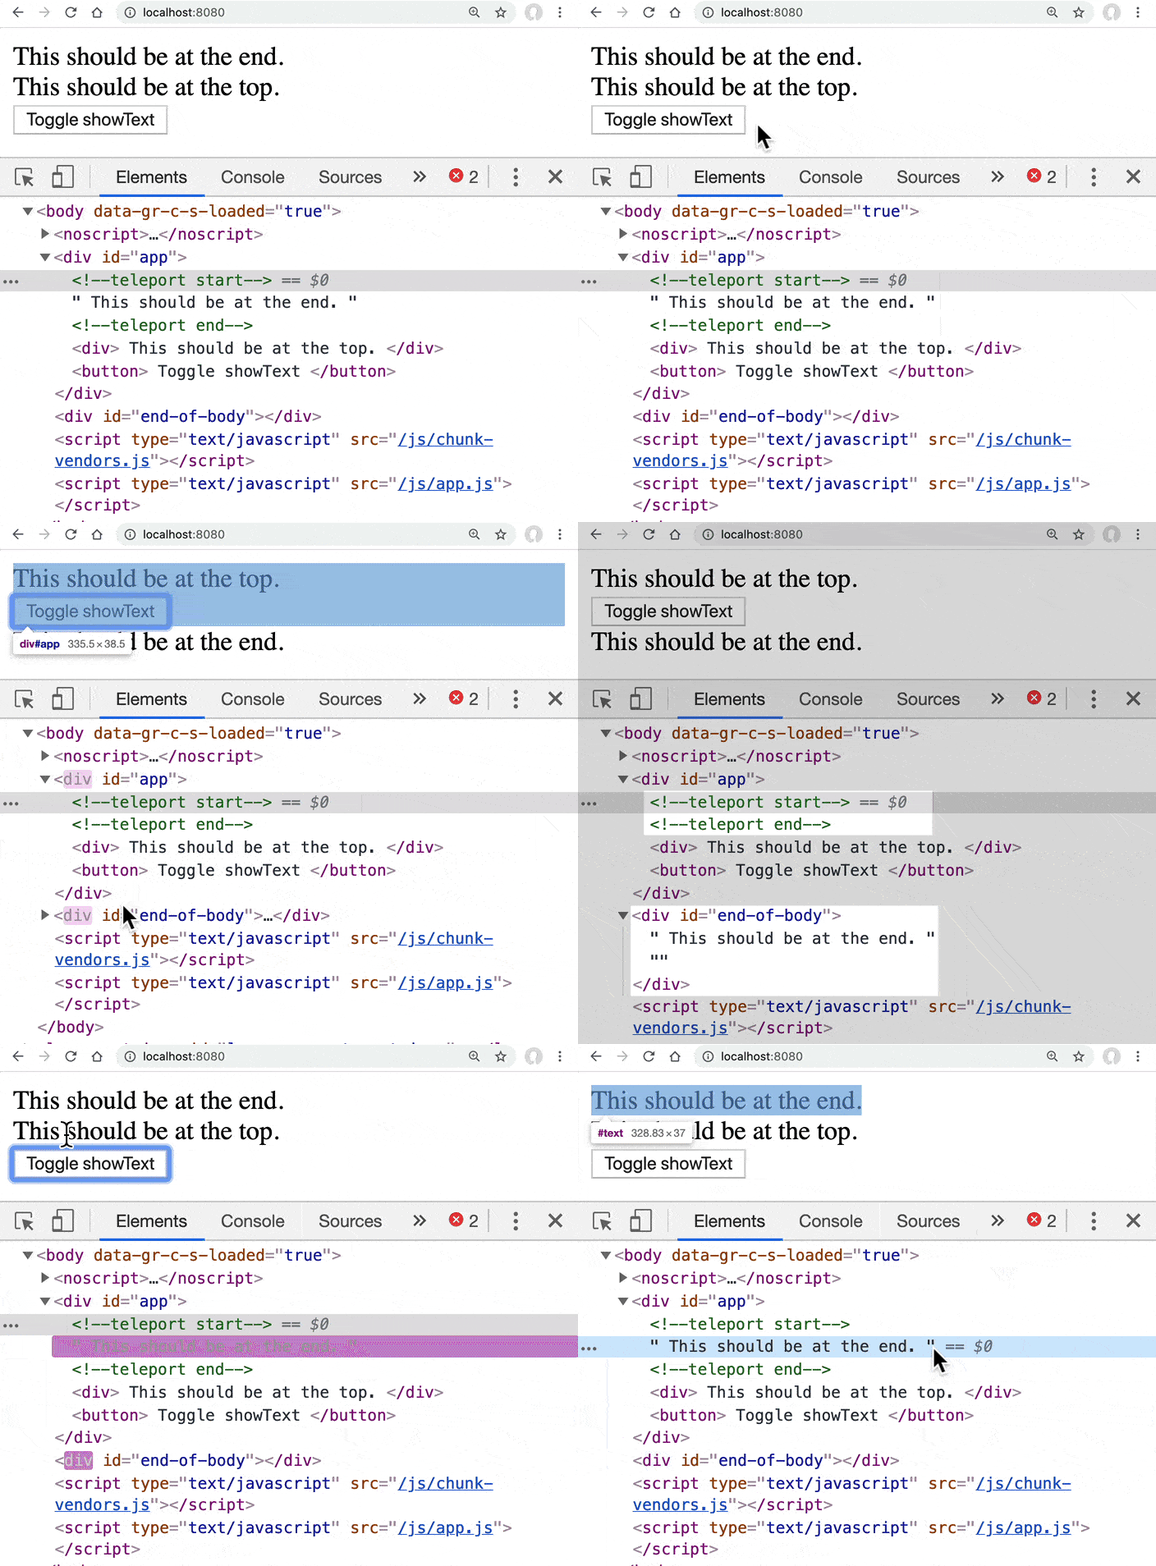
If we inspect the source realtime, we can see that the content is actually being moved in the DOM from place to place.
<02-devtools.gif width=367>
Automatically Saving the State
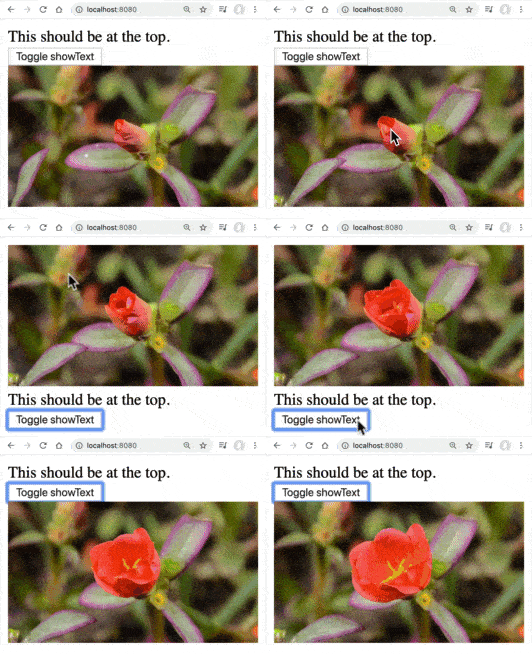
When teleport goes from disabled to enabled, the DOM elements are re-used, so they completely retain the existing state. This can be illustrated by teleporting a playing video.
<template>
  <teleport to="#end-of-body" :disabled="!showText">
    <video autoplay="true" loop="true" width="250">
      <source src="flower.webm" type="video/mp4">
    </video>
  </teleport>
  <div>
    This should be at the top.
  </div>
  <button @click="showText = !showText">
      Toggle showText
  </button>
</template>
<script>
export default {
  data() {
    return {
      showText: false
    };
  }
};
</script>
As you can see in the video below, the state of the video as it moves between locations remains the same.
<03-video.gif width=266>
Hiding the Text
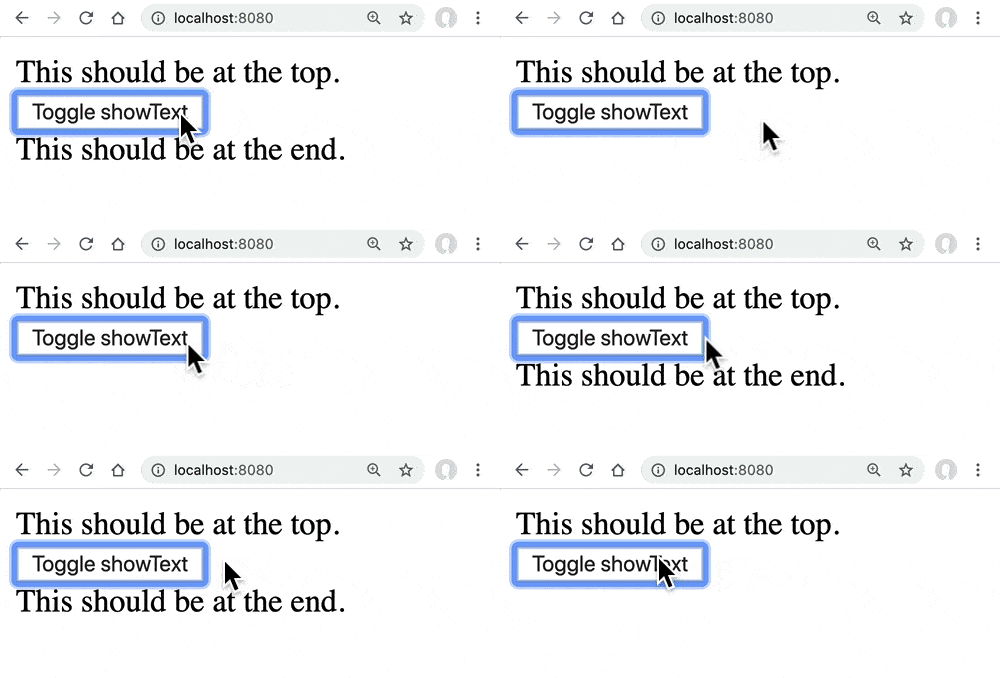
If the content we had inside teleport was a modal, we probably wouldn’t want to show it until it was active. Right now “This should be at the end.” is displaying inside our component, even when showText is false. We can disable this from showing by simply adding a v-if.
<template>
  <teleport to="#end-of-body" :disabled="!showText" v-if="showText">
      This should be at the end.
  </teleport>
  ...
Now our text only shows up when showText is true, and thus teleported to the bottom of the page.
<04-v-if width=250>
Multiple Teleports into the Same Place
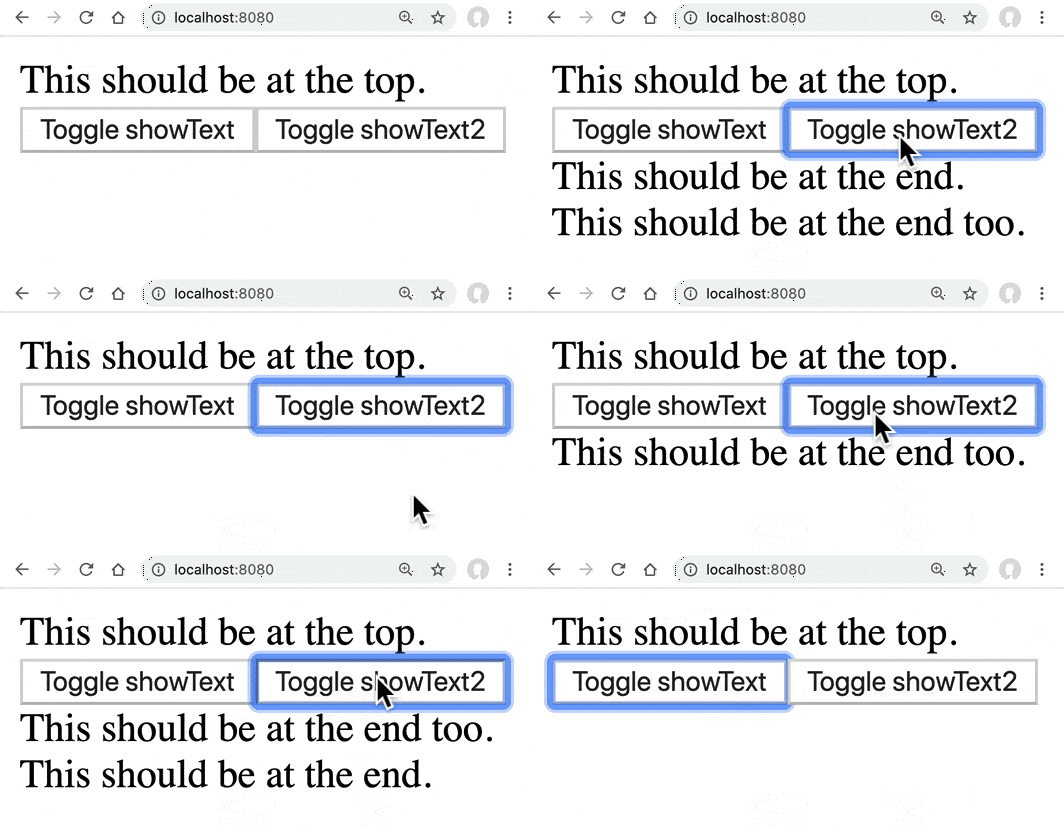
This made me wonder, what happens when you teleport two things into the same place? I can can see (especially with modals) how you might want to teleport more than one thing. Let’s give it a try with our overly simple example, simply creating a showText2.
<template>
  <teleport to="#end-of-body" :disabled="!showText" v-if="showText">
    This should be at the end.
  </teleport>
  <teleport to="#end-of-body" :disabled="!showText2" v-if="showText2">
    This should be at the end too.
  </teleport>
  <div>
    This should be at the top.
  </div>
  <button @click="showText = !showText">
      Toggle showText
  </button>
  <button @click="showText2 = !showText2">
      Toggle showText2
  </button>
</template>
<script>
export default {
  data() {
    return {
      showText: false,
      showText2: false
    };
  }
};
</script>
You can see from the video below that it works as you’d expect, adding the content as it’s toggled. It’s interesting to see that it’s simply appending the element based on which one is clicked first.
<width=300px>
Conclusion
As you can see, using teleport provides you a way to keep your code in the same component, while moving pieces of it into other parts of your page. Aside from the obvious solution of using this for modals which need to appear on top of the rest of the page, and placed right above your </body> tag, I’m excited to see how else this Vue 3 feature is used in practice.
For a more detailed written description, check out the RFC.