指令
vue create vuedemo1
npm run serve
一、腳手架目錄檔案介紹&專案執行流程
yarn serve----->main.js(核心程式碼:1.匯入vue核心包,2.匯入APP.vue根元件,3.例項化Vue,將APP.vue渲染到index.html容器中)
//匯入了Vue
import Vue from 'vue'
//匯入app.vue根元件
import App from './App.vue'

Vue.config.productionTip = false
//3.vue例項化,提供render方法,基於App.vue建立結構渲染index.html
new Vue({
  render: h => h(App),
}).$mount('#app')
二、元件化開發
一個頁面可以拆分成一個個元件,每個元件擁有自己獨立的結構、樣式、行為。
元件分類:普通組建和根元件
1.語法高亮外掛Vetur
2.三部分組成(快速生成三個,快捷鍵<vue):template:結構(有且只有一個根元素);script:(js邏輯);style(樣式)
區域性註冊:只能在註冊的元件內使用。
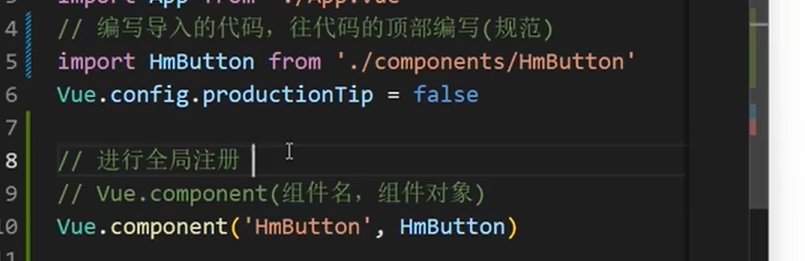
全域性註冊:所有元件內都能使用,在main.js中使用。