在我們開發專案的時候,經常會遇到大塊資料的問題(2M-100M),比如說儲存報表中1w個人的ID號,他就像一個腫瘤一樣,儲存在伺服器哪裡都
覺得噁心,放在redis,mongodb中吧,一下子你就會收到報警,因為記憶體滿了。。。放在mysql吧???你還得建立一個text欄位,和一些小欄位混在一起,
還是有點噁心,還得單獨拆出來,還得怕有些sql不規範的人挺喜歡select * 的,這速度挺噁心的呀。。。直接放到硬碟吧,沒擴充套件性,你1T大小的硬碟又能
怎樣,照樣撐爆你,放在hadoop裡面吧,對.net程式設計師來說,沒有這個緣分,好不容易微軟有一個.net hadoop sdk,說放棄就放棄了,兼具以上各種特性,
最後目光只能落到FastDFS上了。
一: FastDFS
fastDFS的本意是一個分散式的檔案系統,所以大家可以上傳各種小檔案,包括這篇和大家說到的那些一坨一坨的資料,同樣你也可以認為是一些小檔案,
下面我畫一下它的大概架構圖:
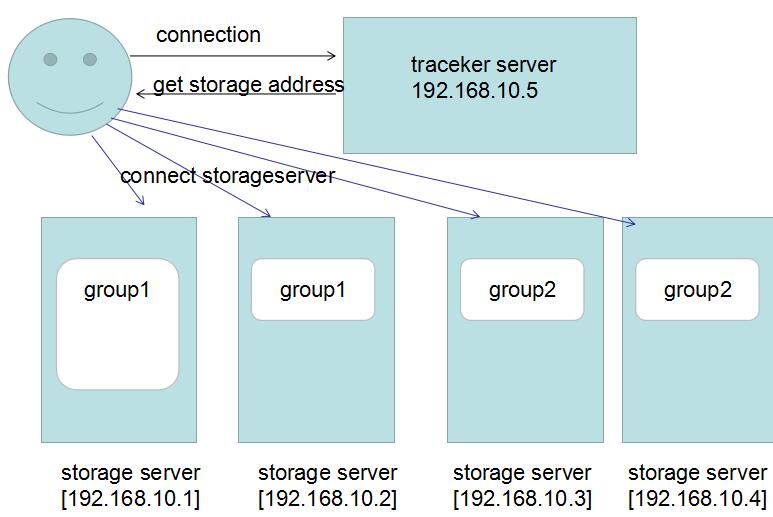
我來解釋一下:
1. fastDFS是按照Group的形式對file進行分組儲存的,這裡的group1你可以理解成C盤,group2理解成D盤,所有的資料都是在Group來劃分的。
2. 為了提高讀取效能和熱備份,我們把group1放到了兩臺機器上,大概可能覺得有點浪費,對吧,事實就是這樣。
3. 為了提高擴充套件性,因為單機是有儲存上限的,這時候你可以再新建一個group2,也就是D盤,放到另外機器上,這樣你就擴容了,對吧。
4. trackerServer主要用來儲存group和storage的一些狀態資訊,主要和client端進行互動,返回正確的storeage server地址,這個和hadoop的
namenode其實是同一個角色的。
5. 這裡要注意的一個地方就是,client端在儲存file的時候,需要告訴trackerserver,你需要儲存到哪一個group中,比如group1還是group2?
二:下載安裝【CentOS】
為了方便測試,這裡我部署到一臺CentOS了。
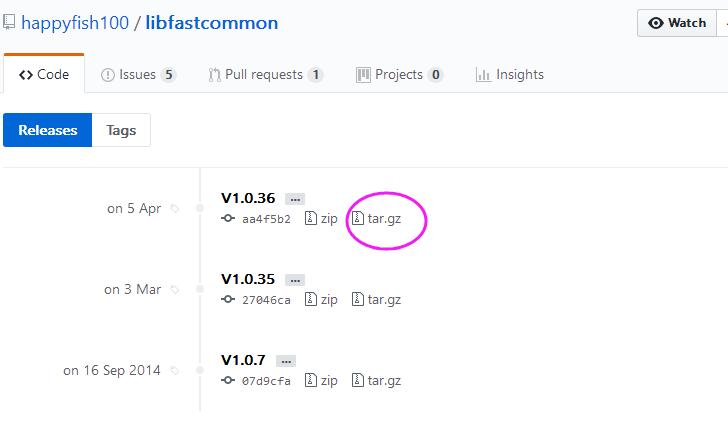
1. 下載fastDFS基礎包: https://github.com/happyfish100/libfastcommon/releases
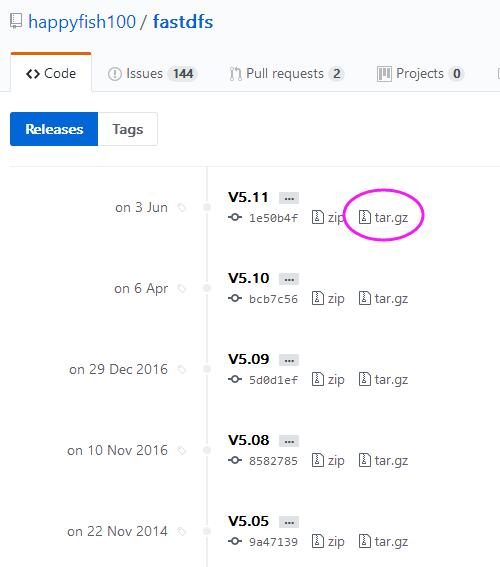
2. 然後下載fast原始碼包:https://github.com/happyfish100/fastdfs/releases
3. wget之後,先把libfastcommon給安裝一下
tar -xzvf V1.0.36
cd libfastcommon-1.0.36
./make.sh && ./make.sh install
再把fastdfs安裝一下。
tar -xzvf V5.11
cd fastdfs-5.11
./make.sh &&./make.sh install
這樣的話,我們的fast就算安裝好了,因為是預設安裝,所以配置檔案是在 /etc/fdfs目錄下,啟動服務在/etc/init.d下。
[root@localhost ~]# cd /etc/fdfs
[root@localhost fdfs]# ls
 client.conf client.conf.sample storage.conf.sample storage_ids.conf.sample tracker.conf.sample

[root@localhost fdfs]# cd /etc/init.d
[root@localhost init.d]# ls
fdfs_storaged  fdfs_trackerd  functions  netconsole  network  README
[root@localhost init.d]#
然後再把兩個storage.conf.sample 和 tracker.conf.sample中copy出我們需要配置的檔案。
[root@localhost fdfs]# cp storage.conf.sample storage.conf
[root@localhost fdfs]# cp tracker.conf.sample tracker.conf
[root@localhost fdfs]# ls
client.conf  client.conf.sample  storage.conf  storage.conf.sample  storage_ids.conf.sample  tracker.conf  tracker.conf.sample
[root@localhost fdfs]#
4. tracker.conf 配置
這個配置檔案,主要是配置裡面的base_path。
# the base path to store data and log files
base_path=/usr/fast/fastdfs-5.11/data/tracker
指定完路徑之後,我們建立一個data資料夾和tracker資料夾。
5. storage.conf 配置
這個配置檔案,我們主要配置三樣東西。
1. 本storage伺服器的groupname,大家看過架構圖應該也明白了,對吧。
2. 為了提高磁碟讀寫,可以指定本groupname的file儲存在哪些磁碟上。
3. 指定和哪一臺trackerserver進行互動。
# the name of the group this storage server belongs to
#
# comment or remove this item for fetching from tracker server,
# in this case, use_storage_id must set to true in tracker.conf,
# and storage_ids.conf must be configed correctly.
group_name=group1


# the base path to store data and log files
base_path=/usr/fast/fastdfs-5.11/data/storage

# path(disk or mount point) count, default value is 1
store_path_count=1

# store_path#, based 0, if store_path0 not exists, it's value is base_path
# the paths must be exist
store_path0=/usr/fast/fastdfs-5.11/data/storage/0
#store_path1=/home/yuqing/fastdfs2

# tracker_server can ocur more than once, and tracker_server format is
#  "host:port", host can be hostname or ip address
tracker_server=192.168.23.152:22122
然後在data目錄下建立storage和0資料夾
6.啟動 FastDFS,可以看到22122的埠已經啟動了,說明搭建成功
[root@localhost ~]# /etc/init.d/fdfs_trackerd start
Starting fdfs_trackerd (via systemctl):                    [  OK  ]
[root@localhost ~]# /etc/init.d/fdfs_storaged start
Starting fdfs_storaged (via systemctl):                    [  OK  ]
[root@localhost 0]# netstat -tlnp
Active Internet connections (only servers)
Proto Recv-Q Send-Q Local Address           Foreign Address         State       PID/Program name
tcp        0      0 0.0.0.0:22122           0.0.0.0:*               LISTEN      4346/fdfs_trackerd
tcp        0      0 192.168.122.1:53        0.0.0.0:*               LISTEN      1786/dnsmasq
tcp        0      0 0.0.0.0:22              0.0.0.0:*               LISTEN      1129/sshd
tcp        0      0 127.0.0.1:631           0.0.0.0:*               LISTEN      1128/cupsd
tcp        0      0 0.0.0.0:23000           0.0.0.0:*               LISTEN      4171/fdfs_storaged
tcp        0      0 127.0.0.1:25            0.0.0.0:*               LISTEN      1556/master
tcp6       0      0 :::22                   :::*                    LISTEN      1129/sshd
tcp6       0      0 ::1:631                 :::*                    LISTEN      1128/cupsd
tcp6       0      0 ::1:25                  :::*                    LISTEN      1556/master
[root@localhost 0]#
三:使用C#客戶端
在github上有一個C#的客戶端,大概可以使用一下:https://github.com/smartbooks/FastDFS.Client 或者通過nuget上搜一下:

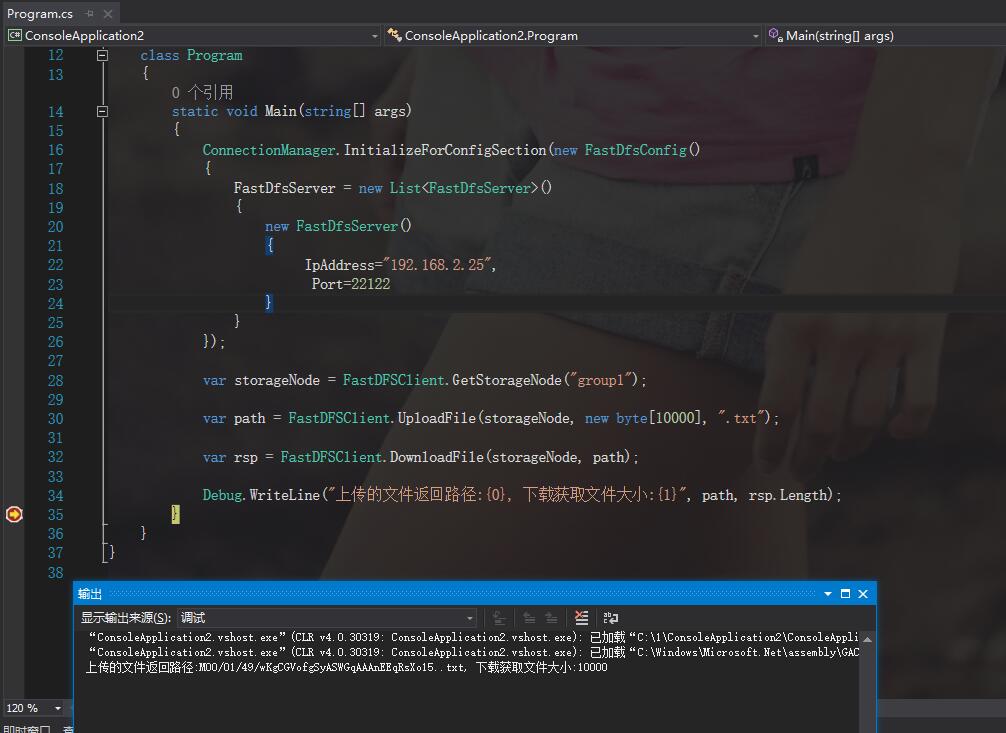
class Program
    {
        static void Main(string[] args)
        {
            ConnectionManager.InitializeForConfigSection(new FastDfsConfig()
            {
                FastDfsServer = new List<FastDfsServer>()
                {
                    new FastDfsServer()
                    {
                         IpAddress="192.168.2.25",
                          Port=22122
                    }
                }
            });

            var storageNode = FastDFSClient.GetStorageNode("group1");

            var path = FastDFSClient.UploadFile(storageNode, new byte[10000], ".txt");

            var rsp = FastDFSClient.DownloadFile(storageNode, path);

            Debug.WriteLine("上傳的檔案返回路徑:{0}, 下載獲取檔案大小:{1}", path, rsp.Length);
        }
    }
好了,本篇就說這麼多了,希望對你有幫助。