1、首先安裝nginx,這裡採用編譯安裝
location ~ \.php$ {
root html;
fastcgi_pass 127.0.0.1:9000;
fastcgi_index index.php;
fastcgi_param SCRIPT_FILENAME html$fastcgi_script_name;第二步修改
include fastcgi_params;
}
[root@wadeson nginx]# cat conf/fastcgi_params
fastcgi_param QUERY_STRING $query_string;
fastcgi_param REQUEST_METHOD $request_method;
fastcgi_param CONTENT_TYPE $content_type;
fastcgi_param CONTENT_LENGTH $content_length;
fastcgi_param SCRIPT_NAME $fastcgi_script_name;
fastcgi_param SCRIPT_FILENAME $document_root$fastcgi_script_name;這裡是新增的一行
fastcgi_param REQUEST_URI $request_uri;
fastcgi_param DOCUMENT_URI $document_uri;
fastcgi_param DOCUMENT_ROOT $document_root;
fastcgi_param SERVER_PROTOCOL $server_protocol;
fastcgi_param HTTPS $https if_not_empty;
fastcgi_param GATEWAY_INTERFACE CGI/1.1;
fastcgi_param SERVER_SOFTWARE nginx/$nginx_version;
fastcgi_param REMOTE_ADDR $remote_addr;
fastcgi_param REMOTE_PORT $remote_port;
fastcgi_param SERVER_ADDR $server_addr;
fastcgi_param SERVER_PORT $server_port;
fastcgi_param SERVER_NAME $server_name;
# PHP only, required if PHP was built with --enable-force-cgi-redirect
fastcgi_param REDIRECT_STATUS 200;
執行完上面三步之後,編寫php檔案確認是否成功:
[root@wadeson nginx]# cat html/index.php
<?php
phpinfo();
?>
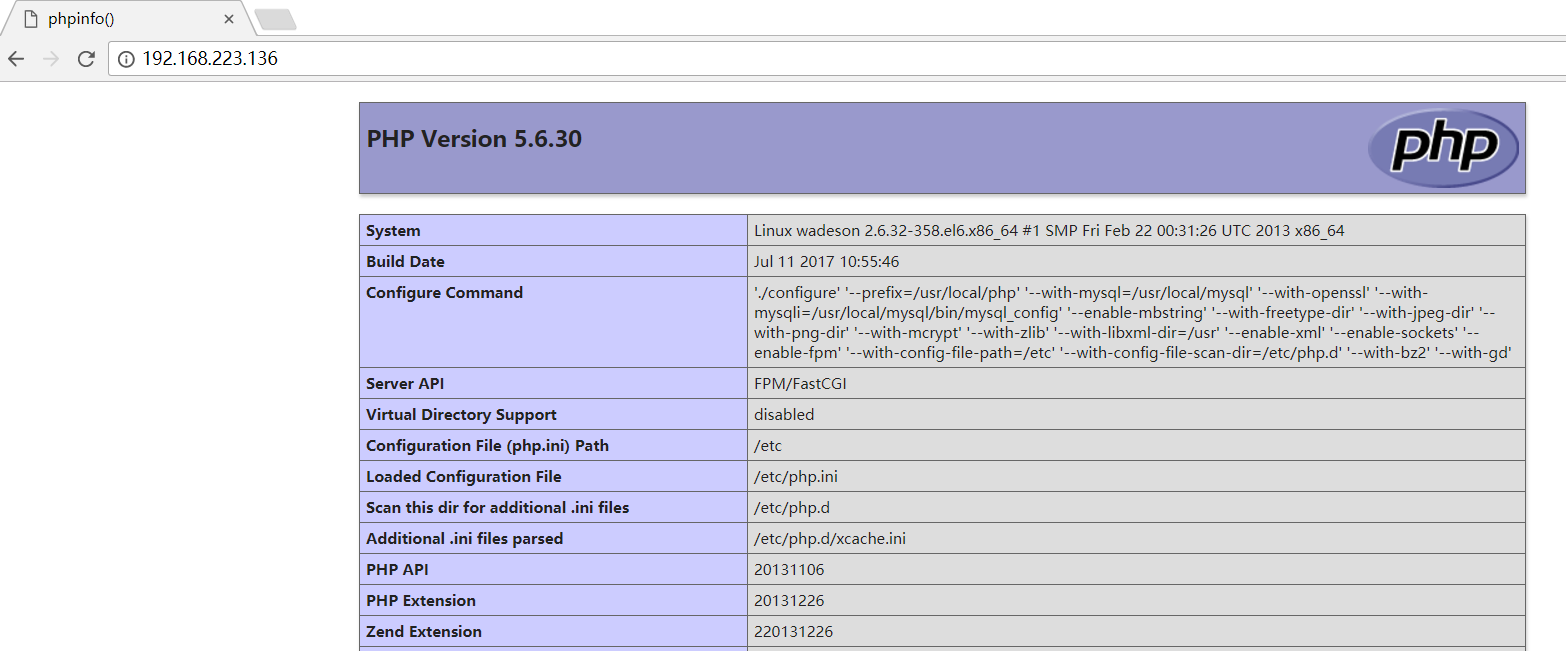
訪問瀏覽器檢視效果:
note:如果需要在現有的基礎上編譯一個新的模組,那麼重新執行configure,後面加上引數