Android 從原始碼的角度分析——為什麼要用newInstance來例項化Fragment
最近在看Google技術文件的時候發現了一種新的方式來例項化Fragment,就是採用靜態工廠的方式建立Fragment。
我們在使用Android studio建立一個類的時候,選擇New ->Fragment->Fragment(Blank)可以很直觀的看到這種方
式的寫法:
public class BlankFragment extends Fragment {
    private static final String ARG_PARAM1 = "param1";
    private static final String ARG_PARAM2 = "param2";

    private String mParam1;
    private String mParam2;

    public BlankFragment() {
        // Required empty public constructor
    }

    /**
     * Use this factory method to create a new instance of
     * this fragment using the provided parameters.
     *
     * @param param1 Parameter 1.
     * @param param2 Parameter 2.
     * @return A new instance of fragment BlankFragment.
     */
    // TODO: Rename and change types and number of parameters
    public static BlankFragment newInstance(String param1, String param2) {
        BlankFragment fragment = new BlankFragment();
        Bundle args = new Bundle();
        args.putString(ARG_PARAM1, param1);
        args.putString(ARG_PARAM2, param2);
        fragment.setArguments(args);
        return fragment;
    }

    @Override
    public void onCreate(Bundle savedInstanceState) {
        super.onCreate(savedInstanceState);
        if (getArguments() != null) {
            mParam1 = getArguments().getString(ARG_PARAM1);
            mParam2 = getArguments().getString(ARG_PARAM2);
        }
    }
}- 1
- 2
- 3
- 4
- 5
- 6
- 7
- 8
- 9
- 10
- 11
- 12
- 13
- 14
- 15
- 16
- 17
- 18
- 19
- 20
- 21
- 22
- 23
- 24
- 25
- 26
- 27
- 28
- 29
- 30
- 31
- 32
- 33
- 34
- 35
- 36
- 37
- 38
上述程式碼其實就是在一個Fragment的newInstance方法中傳遞兩個引數,並且通過fragment.setArgument儲存在它自己身上,而後通過onCreate()呼叫的時候將這些引數取出來。
可能有人乍一看,這樣寫沒什麼特殊的啊,不就是用靜態工廠方法傳個引數麼,用構造器傳引數不一樣處理麼?No,No,No,如果僅僅是個靜態工廠而已,又怎麼能成為谷歌推薦呢。
我們先來看一個小例子:
<LinearLayout
    xmlns:android="http://schemas.android.com/apk/res/android"
    android:layout_width="match_parent"
    android:layout_height="match_parent"
    android:orientation="vertical"
    >
    <FrameLayout
        android:id="@+id/layout_top"
        android:layout_width="match_parent"
        android:layout_height="0dp"
        android:layout_weight="1"/>
    <FrameLayout
        android:id="@+id/layout_bottom"
        android:layout_width="match_parent"
        android:layout_height="0dp"
        android:layout_weight="1"/>
</LinearLayout>- 1
- 2
- 3
- 4
- 5
- 6
- 7
- 8
- 9
- 10
- 11
- 12
- 13
- 14
- 15
- 16
- 17
在xml中定義兩個FrameLayout,平分整個螢幕高度。
@Override
    protected void onCreate(Bundle savedInstanceState) {
        super.onCreate(savedInstanceState);
        setContentView(R.layout.activity_main);
        if(savedInstanceState == null){
        FragmentTransaction transaction = getSupportFragmentManager().beginTransaction();
        transaction.add(R.id.layout_top,new TopFragment("頂部的Fragment"));
        transaction.add(R.id.layout_bottom,BottomFragment.newInstance("底部的Fragment"));
        transaction.commit();
        }
}- 1
- 2
- 3
- 4
- 5
- 6
- 7
- 8
- 9
- 10
- 11
在activity中採用兩種不同的方式來例項化Fragment,頂部的Fragment通過構造方法將引數傳遞給它,而底部的Fragment通過newInstance的方式例項化並傳參。兩個Fragment的程式碼如下所示:
public class TopFragment extends Fragment {
    private String mTop = "啥也沒有";
    public TopFragment(){
    }
    public TopFragment(String top) {
        this.mTop = top;
    }

    @Nullable
    @Override
    public View onCreateView(LayoutInflater inflater, @Nullable ViewGroup container, @Nullable Bundle savedInstanceState) {
        TextView tv = new TextView(getActivity());
        tv.setText(mTop);
        tv.setGravity(Gravity.CENTER);
        tv.setTextColor(Color.RED);
        tv.setTextSize(25);
        return tv;
    }
}- 1
- 2
- 3
- 4
- 5
- 6
- 7
- 8
- 9
- 10
- 11
- 12
- 13
- 14
- 15
- 16
- 17
- 18
- 19
public class BottomFragment extends Fragment {
    private String mBottom = "啥也沒有";
    public static BottomFragment newInstance(String bottom) {
        BottomFragment fragment = new BottomFragment();
        Bundle bundle = new Bundle();
        bundle.putString("bottom",bottom);
        fragment.setArguments(bundle);
        return fragment;
    }
    @Override
    public void onCreate(@Nullable Bundle savedInstanceState) {
        super.onCreate(savedInstanceState);
        if(getArguments() != null){
            mBottom = getArguments().getString("bottom");
        }
    }
    @Nullable
    @Override
    public View onCreateView(LayoutInflater inflater, @Nullable ViewGroup container, @Nullable Bundle savedInstanceState) {
        TextView tv = new TextView(getActivity());
        tv.setText(mBottom);
        tv.setGravity(Gravity.CENTER);
        tv.setTextColor(Color.RED);
        tv.setTextSize(25);
        return tv;
    }
}- 1
- 2
- 3
- 4
- 5
- 6
- 7
- 8
- 9
- 10
- 11
- 12
- 13
- 14
- 15
- 16
- 17
- 18
- 19
- 20
- 21
- 22
- 23
- 24
- 25
- 26
- 27
在兩個Fragment第一行都寫一個相同的預設引數:“啥也沒有”,ok,執行工程:
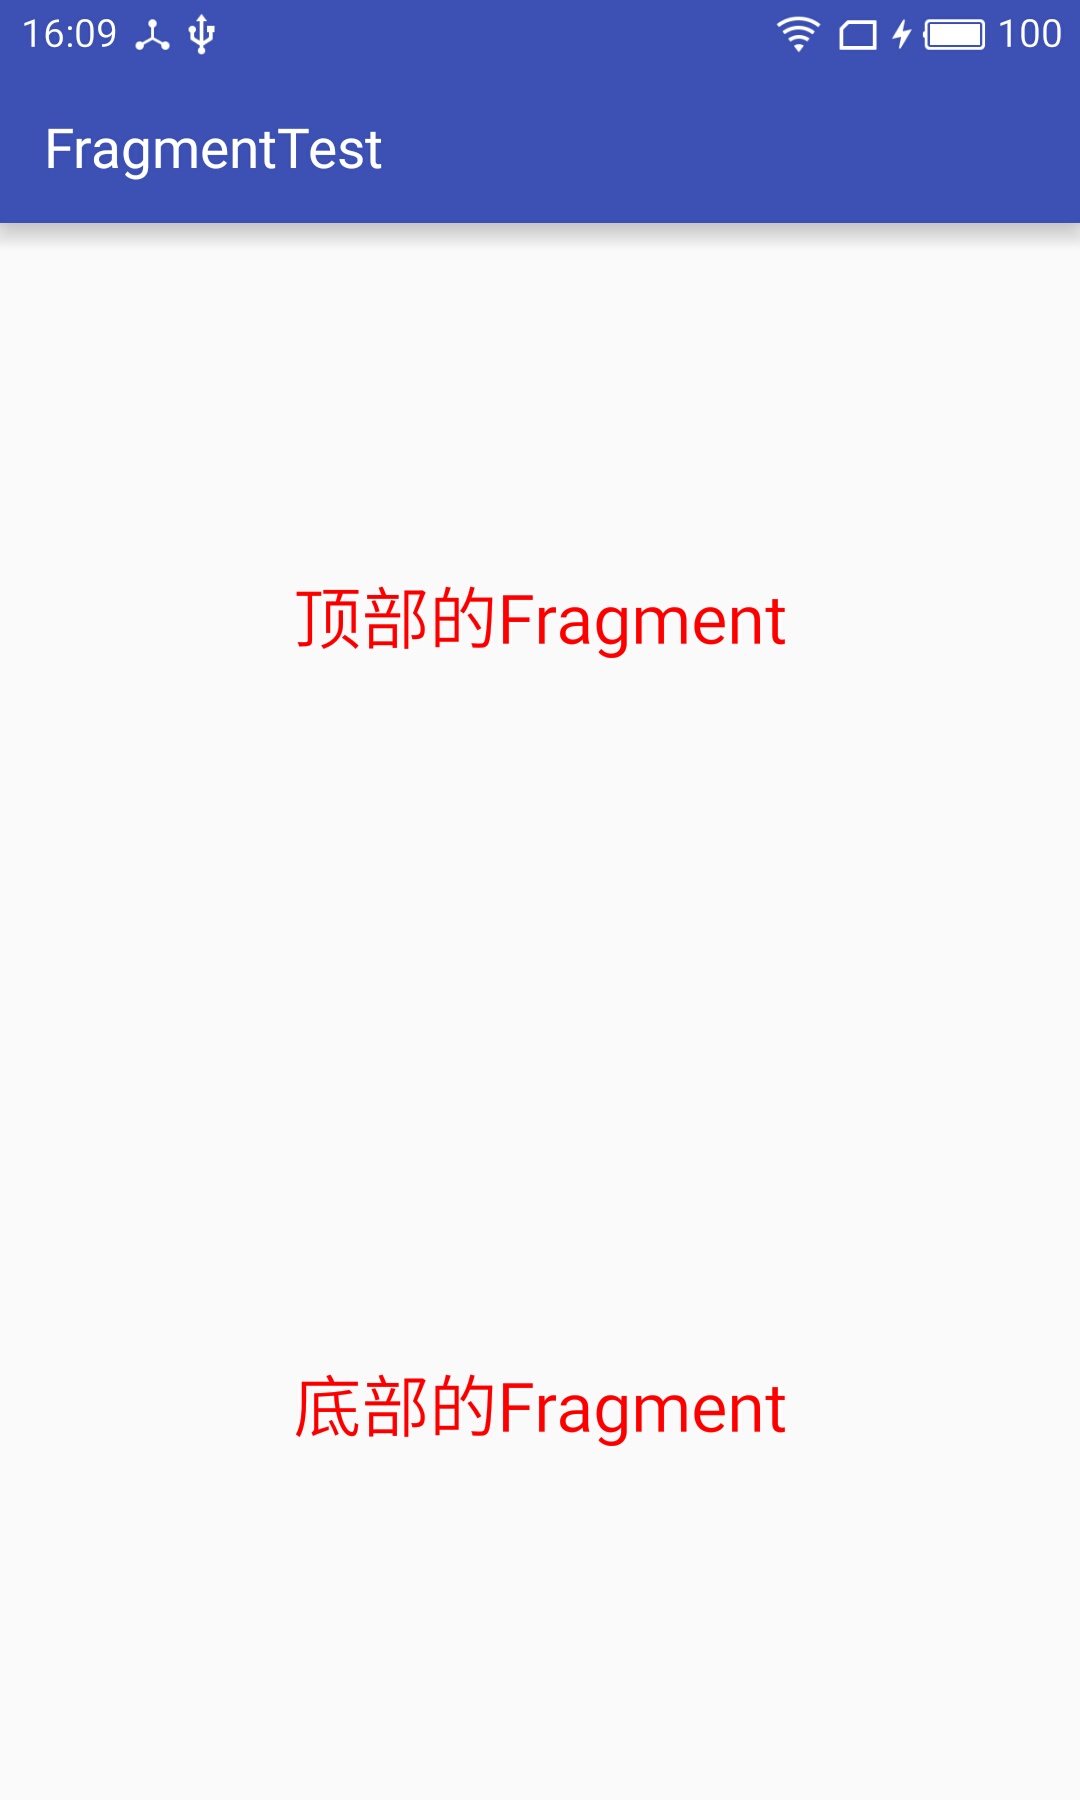
嗯,沒毛病,兩個Fragment都順利的接收到來自activity的資料。然後我們把螢幕橫過來,看看會出現怎樣的狀況:
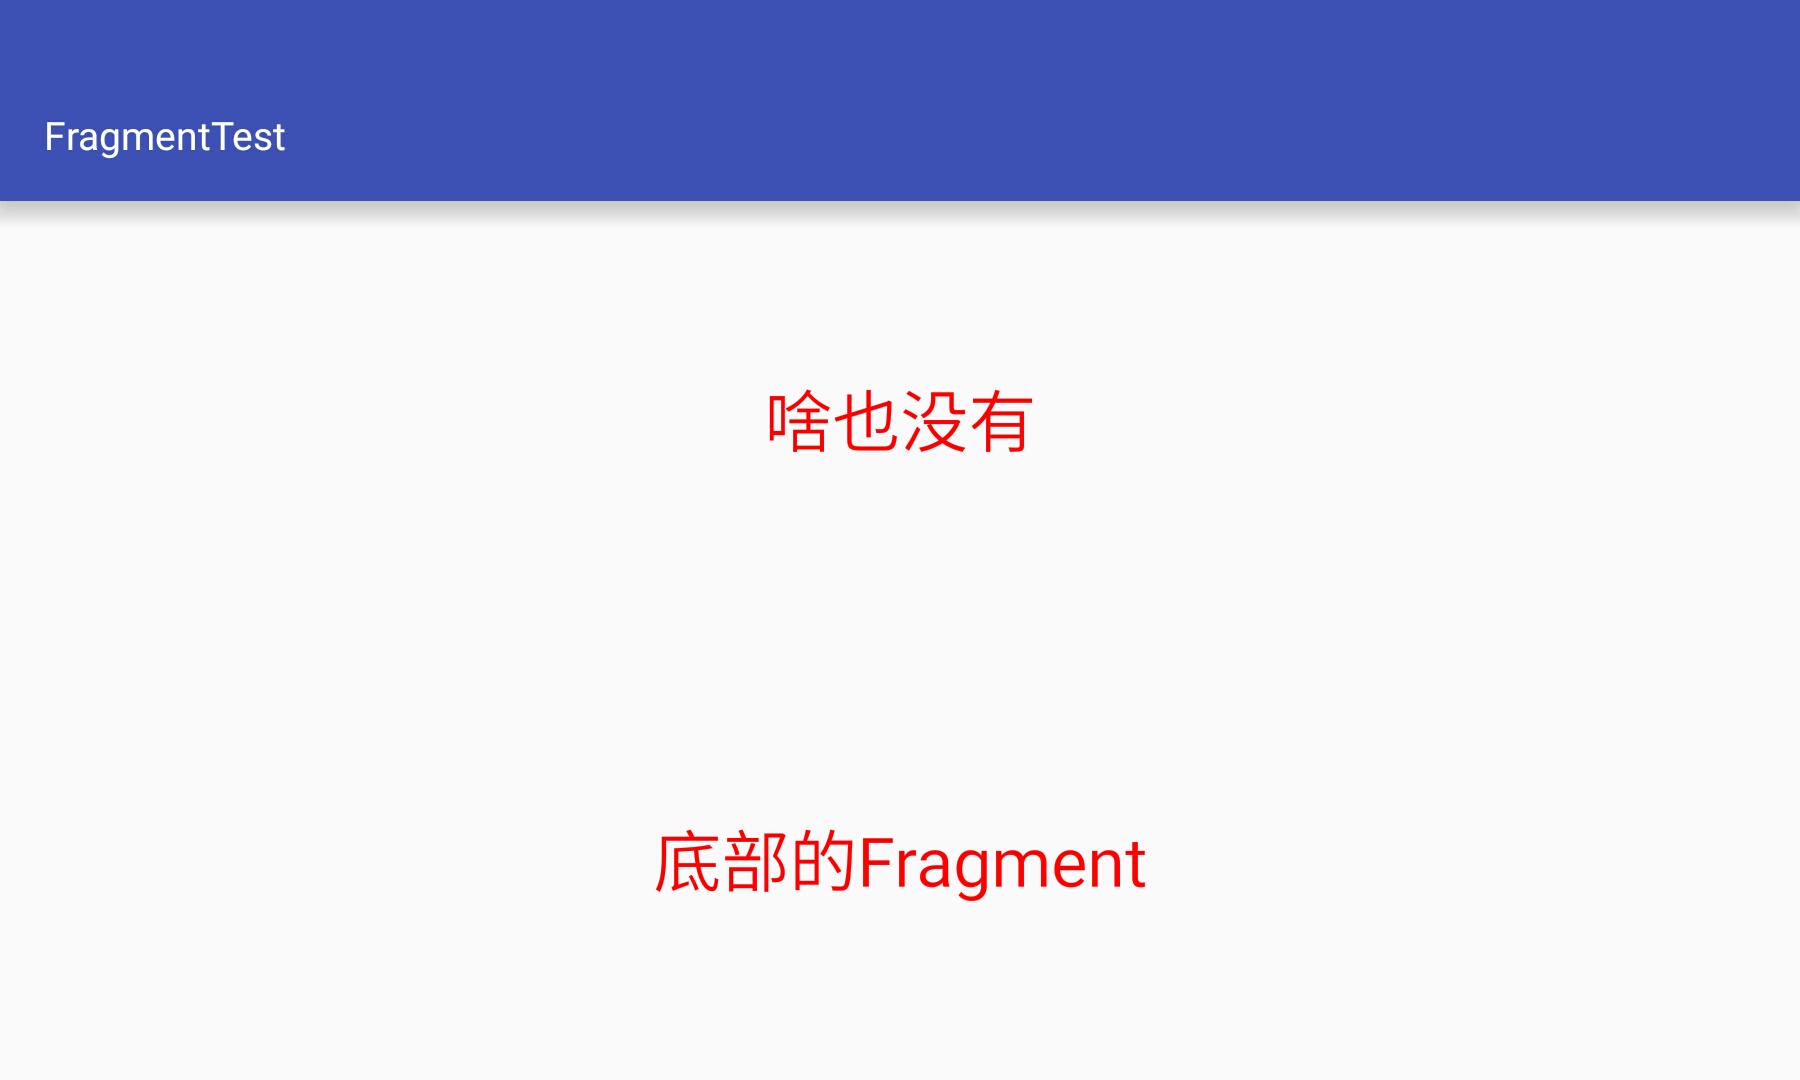
咦。。。頂部的Fragment的資料呢?為什麼只顯示預設的資料?activity給它傳過去的資料哪去了呢?
我們來分析一下產生上述情況的原因:當我們橫豎屏切換的時候,activity會重建,相應的,依附於它上面的Fragment也會重新建立。好,順著這個思路,進activity的onCreate方法中看看:
protected void onCreate(@Nullable Bundle savedInstanceState) {
        if (DEBUG_LIFECYCLE) Slog.v(TAG, "onCreate " + this + ": " + savedInstanceState);
        if (mLastNonConfigurationInstances != null) {
            mFragments.restoreLoaderNonConfig(mLastNonConfigurationInstances.loaders);
        }
        if (mActivityInfo.parentActivityName != null) {
            if (mActionBar == null) {
                mEnableDefaultActionBarUp = true;
            } else {
                mActionBar.setDefaultDisplayHomeAsUpEnabled(true);
            }
        }
        if (savedInstanceState != null) {
            Parcelable p = savedInstanceState.getParcelable(FRAGMENTS_TAG);
            mFragments.restoreAllState(p, mLastNonConfigurationInstances != null
                    ? mLastNonConfigurationInstances.fragments : null);//這裡,會恢復所有Fragment的狀態
        }
        mFragments.dispatchCreate();
        getApplication().dispatchActivityCreated(this, savedInstanceState);
        if (mVoiceInteractor != null) {
            mVoiceInteractor.attachActivity(this);
        }
        mCalled = true;
}- 1
- 2
- 3
- 4
- 5
- 6
- 7
- 8
- 9
- 10
- 11
- 12
- 13
- 14
- 15
- 16
- 17
- 18
- 19
- 20
- 21
- 22
- 23
- 24
顯而易見,所有Fragment的狀態恢復應該是在mFragments.restoreAllState()這個方法,跟進去看看:
public void restoreAllState(Parcelable state, List<Fragment> nonConfigList) {
        mHost.mFragmentManager.restoreAllState(state, nonConfigList);
}- 1
- 2
- 3
找到FragmentManager這個類,檢視它的restoreAllState方法:
void restoreAllState(Parcelable state, FragmentManagerNonConfig nonConfig) {
    ...
    for (int i=0; i<fms.mActive.length; i++) {
            FragmentState fs = fms.mActive[i];
            if (fs != null) {
                FragmentManagerNonConfig childNonConfig = null;
                if (childNonConfigs != null && i < childNonConfigs.size()) {
                    childNonConfig = childNonConfigs.get(i);
                }
                Fragment f = fs.instantiate(mHost, mParent, childNonConfig);//例項化
                if (DEBUG) Log.v(TAG, "restoreAllState: active #" + i + ": " + f);
                mActive.add(f);
                // Now that the fragment is instantiated (or came from being
                // retained above), clear mInstance in case we end up re-restoring
                // from this FragmentState again.
                fs.mInstance = null;
            } else {
                mActive.add(null);
                if (mAvailIndices == null) {
                    mAvailIndices = new ArrayList<Integer>();
                }
                if (DEBUG) Log.v(TAG, "restoreAllState: avail #" + i);
                mAvailIndices.add(i);
            }
        }
        ...
}- 1
- 2
- 3
- 4
- 5
- 6
- 7
- 8
- 9
- 10
- 11
- 12
- 13
- 14
- 15
- 16
- 17
- 18
- 19
- 20
- 21
- 22
- 23
- 24
- 25
- 26
- 27
尋找關鍵程式碼,我們發現了Fragment f = fs.instantiate(mHost, mParent, childNonConfig);這句,這裡應該是Fragment重新例項化的地方了吧,趕緊點進去瞧瞧:
public Fragment instantiate(FragmentHostCallback host, Fragment parent,
            FragmentManagerNonConfig childNonConfig) {
        if (mInstance == null) {
            final Context context = host.getContext();
            if (mArguments != null) {
                mArguments.setClassLoader(context.getClassLoader());
            }

            mInstance = Fragment.instantiate(context, mClassName, mArguments);//建立Fragment物件的地方

            if (mSavedFragmentState != null) {
                mSavedFragmentState.setClassLoader(context.getClassLoader());
                mInstance.mSavedFragmentState = mSavedFragmentState;
            }
            mInstance.setIndex(mIndex, parent);
            mInstance.mFromLayout = mFromLayout;
            mInstance.mRestored = true;
            mInstance.mFragmentId = mFragmentId;
            mInstance.mContainerId = mContainerId;
            mInstance.mTag = mTag;
            mInstance.mRetainInstance = mRetainInstance;
            mInstance.mDetached = mDetached;
            mInstance.mHidden = mHidden;
            mInstance.mFragmentManager = host.mFragmentManager;

            if (FragmentManagerImpl.DEBUG) Log.v(FragmentManagerImpl.TAG,
                    "Instantiated fragment " + mInstance);
        }
        mInstance.mChildNonConfig = childNonConfig;
        return mInstance;
}- 1
- 2
- 3
- 4
- 5
- 6
- 7
- 8
- 9
- 10
- 11
- 12
- 13
- 14
- 15
- 16
- 17
- 18
- 19
- 20
- 21
- 22
- 23
- 24
- 25
- 26
- 27
- 28
- 29
- 30
- 31
繼續跟進mInstance = Fragment.instantiate(context, mClassName, mArguments);看看裡面的真正實現:
public static Fragment instantiate(Context context, String fname, @Nullable Bundle args) {
        try {
            Class<?> clazz = sClassMap.get(fname);
            if (clazz == null) {
                // Class not found in the cache, see if it's real, and try to add it
                clazz = context.getClassLoader().loadClass(fname);
                sClassMap.put(fname, clazz);
            }
            Fragment f = (Fragment)clazz.newInstance();
            if (args != null) {
                args.setClassLoader(f.getClass().getClassLoader());
                f.mArguments = args;//將之前設定的引數儲存在自己身上
            }
            return f;
        } catch (ClassNotFoundException e) {
            throw new InstantiationException("Unable to instantiate fragment " + fname
                    + ": make sure class name exists, is public, and has an"
                    + " empty constructor that is public", e);
        } catch (java.lang.InstantiationException e) {
            throw new InstantiationException("Unable to instantiate fragment " + fname
                    + ": make sure class name exists, is public, and has an"
                    + " empty constructor that is public", e);
        } catch (IllegalAccessException e) {
            throw new InstantiationException("Unable to instantiate fragment " + fname
                    + ": make sure class name exists, is public, and has an"
                    + " empty constructor that is public", e);
        }
}- 1
- 2
- 3
- 4
- 5
- 6
- 7
- 8
- 9
- 10
- 11
- 12
- 13
- 14
- 15
- 16
- 17
- 18
- 19
- 20
- 21
- 22
- 23
- 24
- 25
- 26
- 27
- 28
終於走到了Fragment最終被例項化建立的地方,我們可以看到Fragment物件被反射建立之後,會呼叫這麼一句程式碼:f.mArguments = args; 哦,原來如此,Fragment在重新建立的時候只會呼叫無參的構造方法,並且如果之前通過fragment.setArguments(bundle)這種方式設定過引數的話,Fragment重建時會得到這些引數,所以,在onCreate中我們可以通過getArguments()的方式拿到我們之前設定的引數。同時由於Fragment在重建時並不會呼叫我們自定義的帶引數的構造方法,所以我們傳遞的引數它也就獲取不到了,這就是為什麼會出現上述情況的原因。
細心的童鞋可以發現,上面的程式碼在catch語句當中丟擲了幾個異常,意思是:在Fragment重建過程中,確保你的Fragment的類是public的,並且帶有一個public的空參的構造器,否則就讓你崩潰~~~
好了,拋棄之前那些不好的程式碼習慣吧,支援谷歌,擁抱變化。
相關文章
- 【Android原始碼】Fragment 原始碼分析Android原始碼Fragment
- Android的Message Pool是個什麼鬼——原始碼角度分析 .Android原始碼
- 為什麼要用單例模式?單例模式
- 用程式碼解釋為什麼要用 '單例'單例
- 從原始碼角度來讀Handler原始碼
- 從面試角度分析ArrayList原始碼面試原始碼
- 從原始碼角度分析 MyBatis 工作原理原始碼MyBatis
- 從面試角度分析LinkedList原始碼面試原始碼
- Java介面為什麼不能例項化Java
- Android開發為什麼要用MVP?AndroidMVP
- 為什麼要用Redis?Redis為什麼這麼快?(來自知乎)Redis
- Flutter Android 端 Activity/Fragment 流程原始碼分析FlutterAndroidFragment原始碼
- Spring 原始碼分析之 bean 例項化原理Spring原始碼Bean
- Mybatis原始碼分析(三)通過例項來看typeHandlersMyBatis原始碼
- Java HashMap例項原始碼分析JavaHashMap原始碼
- 為什麼我要用 C 來開發遊戲?開發遊戲
- 為什麼要用setTimout來做定時器?定時器
- 從原始碼角度,帶你研究什麼是三級快取原始碼快取
- 為什麼要用docker?Docker
- 為什麼要用dockerDocker
- 為什麼要用RedisRedis
- 計算機為什麼要用補碼計算機
- 從pytest原始碼的角度分析pytest工作原理原始碼
- Android事件分發:從原始碼角度分析View事件分發機制Android事件原始碼View
- [8]elasticsearch原始碼深入分析——Node與NodeEnvironment的例項化Elasticsearch原始碼
- 從JDK原始碼角度看併發鎖的優化JDK原始碼優化
- Android fragment原始碼全解析AndroidFragment原始碼
- 為什麼要用Vue.js的元件化開發Vue.js元件化
- 為什麼要用SOCKS代理?
- 為什麼要用混合加密?加密
- 從輕度使用者的角度分析為什麼《Splatoon 2》是個好遊戲遊戲
- 為什麼北歐多產優秀手遊? 從業者從地域差異角度分析
- 從資料角度探究《前任3》為什麼這麼火爆
- Java面試題 從原始碼角度分析HashSet實現原理?Java面試題原始碼
- 2. Jetpack原始碼解析---Navigation為什麼切換Fragment會重繪?Jetpack原始碼NavigationFragment
- Spring Ioc原始碼分析系列--Bean例項化過程(二)Spring原始碼Bean
- Spring Ioc原始碼分析系列--Bean例項化過程(一)Spring原始碼Bean
- 為什麼很多基於 python 的自動化測試框架要用 excel 寫用例Python框架Excel