Spring 的下載、安裝和使用
一、下載 Spring 下載地址:http://repo.spring.io/libs-release-local/org/springframework/spring/4.0.6.RELEASE/ 下載zip壓縮包: spring-framework-4.0.6.RELEASE-dist.zip 並解壓。
二、在 Eclipse 呀 myEclipse 中開發 Spring 應用
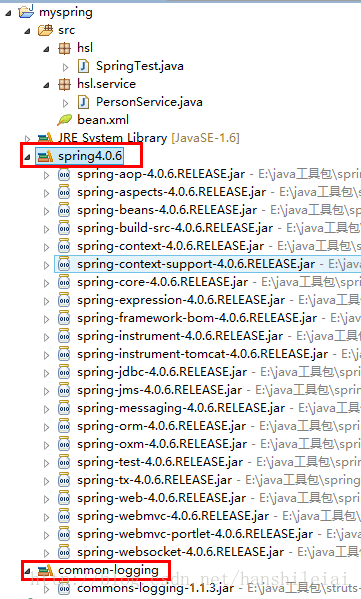
1. 新建 java project 專案命名為 myspring
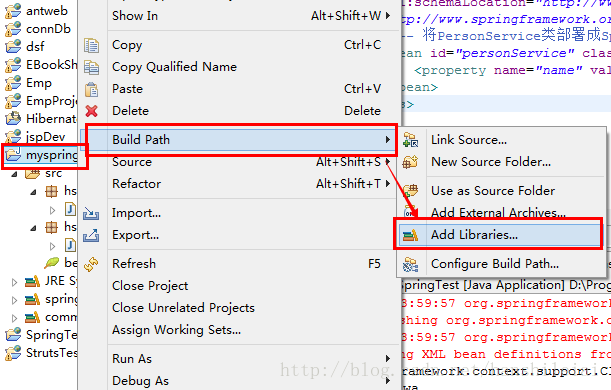
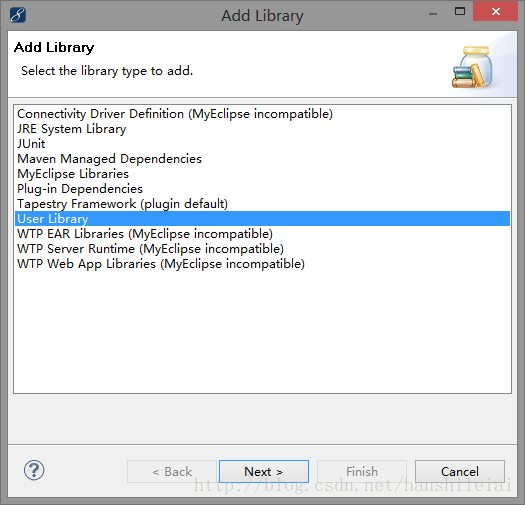
2. 為該專案增加 Spring 支援。新增使用者庫 spring4.0.6 和 common-logging 新增方法如下圖:
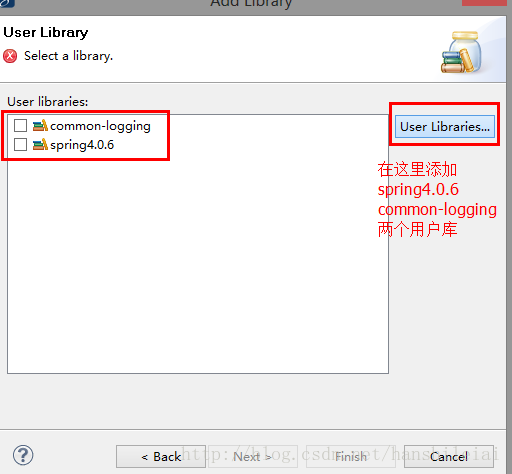
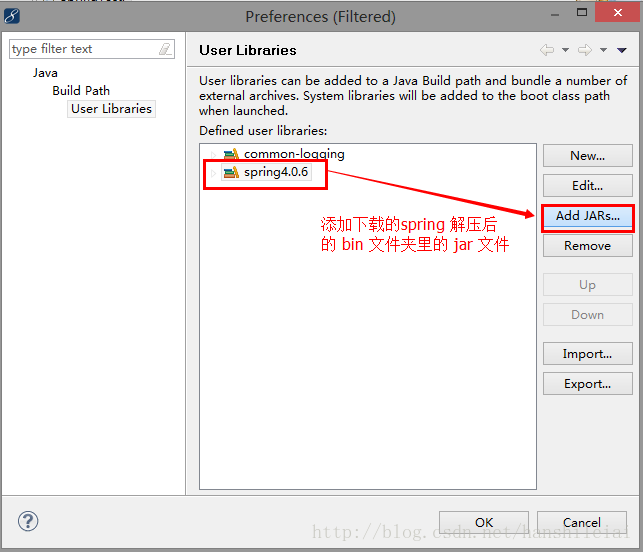
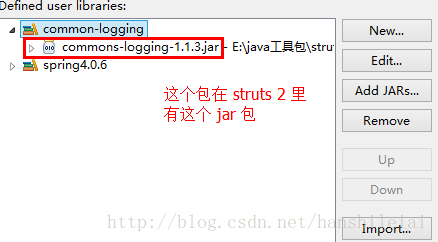
commons-logging-1.1.3.jar
3. 定義一個 Spring 管理容器中的 Bean (POJO) src\hsl\service\PersonService.java 程式碼如下:
package hsl.service;

public class PersonService {
	private String name;

	// name屬性的setter方法
	public void setName(String name) {
		this.name = name;
	}

	// 測試Person類的info方法
	public void info() {
		System.out.println("此人名為:" + name);
	}
}
注:Spring 可以管理任意的 POJO,並不要求 java 類是一個標準的 JavaBean.
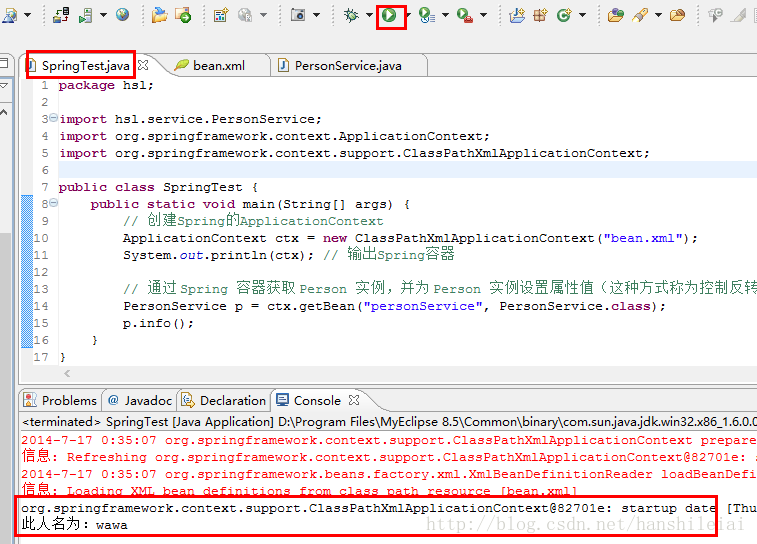
4. 編寫主程式,該程式初始化 Spring 容器 src\hsl\SpringTest.java 程式碼如下:
package hsl;

import hsl.service.PersonService;
import org.springframework.context.ApplicationContext;
import org.springframework.context.support.ClassPathXmlApplicationContext;

public class SpringTest {
	public static void main(String[] args) {
		// 建立Spring的ApplicationContext
		ApplicationContext ctx = new ClassPathXmlApplicationContext("bean.xml");
		System.out.println(ctx); // 輸出Spring容器

		// 通過 Spring 容器獲取 Person 例項,併為 Person 例項設定屬性值(這種方式稱為控制反轉,IoC)
		PersonService p = ctx.getBean("personService", PersonService.class);
		p.info();
	}
}
5. 將 PersionService 類部署在 Spring 配置檔案中, src\bean.xml 程式碼如下:
<?xml version="1.0" encoding="UTF-8"?>
<beans xmlns:xsi="http://www.w3.org/2001/XMLSchema-instance"
	xmlns="http://www.springframework.org/schema/beans"
	xsi:schemaLocation="http://www.springframework.org/schema/beans
	http://www.springframework.org/schema/beans/spring-beans-3.0.xsd">
	<!-- 將PersonService類部署成Spring容器中的Bean  -->
	<bean id="personService" class="hsl.service.PersonService">
		<property name="name" value="wawa"/>
	</bean>
</beans>
6. 執行主程式,結果如下:
相關文章
- Charles的下載和安裝
- axios下載安裝/使用iOS
- zookeeper下載安裝使用
- SVN下載安裝使用
- Nginx下載和安裝Nginx
- tengine下載和安裝
- clickhouse下載和安裝
- 下載和安裝PycharmPyCharm
- maven下載和安裝Maven
- Tesseract引擎的下載和安裝
- MySQL的下載、安裝和配置MySql
- nodejs下載、安裝和配置NodeJS
- Python 下載安裝和配置Python
- JDK的下載及安裝與Eclipse的下載及使用JDKEclipse
- linux下Anaconda的安裝和使用Linux
- windows下Redis的安裝和使用WindowsRedis
- mongodb macos 下的安裝和使用MongoDBMac
- xftp和xshell,xftp和xshell的下載安裝FTP
- xftp和xshell,xftp和xshell的下載和安裝FTP
- Oracle 19C的下載和安裝部署(圖形安裝和靜默安裝)Oracle
- python的下載安裝與簡單使用Python
- Tesseract OCR的下載安裝和啟動
- class-dump 下載安裝使用
- Oracle Linux 7.5下載和安裝OracleLinux
- python 使用pip安裝使用國內映象加速下載安裝包的方法Python
- Centos 7下下載和安裝dockerCentOSDocker
- typora下載安裝以及notepad++下載安裝
- Easyconnect官網下載安裝使用教程
- plsql以及instantclient下載安裝配置使用SQLclient
- MAT(Memory Analyzer Tool)下載和安裝
- java中maven下載和安裝整理JavaMaven
- Oracle 21C下載和安裝Oracle
- oracle11g安裝和下載Oracle
- 下載和安裝MySQL資料庫MySql資料庫
- Oracle 19C 下載和安裝Oracle
- Maven的下載安裝配置Maven
- jdk的下載與安裝JDK
- Tomcat的下載與安裝Tomcat
- Redis在.net中的使用(1)下載安裝RedisRedis