前言:
前面幾篇文章介紹了補間動畫、逐幀動畫、屬性動畫,大部分都是針對View來實現的動畫,那麼該如何為了一個ViewGroup新增動畫呢?今天結合自定義ViewGroup來學習一下佈局動畫。本文將通過對自定義圖片選擇控制元件設定動畫為例來學習佈局動畫。
其他幾種動畫效果:
- Android動畫效果之Tween Animation(補間動畫)
- Android動畫效果之Frame Animation(逐幀動畫)
- Android動畫效果之初識Property Animation(屬性動畫)
- Android動畫效果之Property Animation進階(屬性動畫)
- Android動畫效果之自定義ViewGroup新增布局動畫
自定義一個顯示多行圖片的ViewGroup:
這裡不再對自定義控制元件做解說,想了解的可以看下以下幾篇文章
- Android自定義控制元件之基本原理(一)
- Android自定義控制元件之自定義屬性(二)
- Android自定義控制元件之自定義組合控制元件(三)
- Android自定義控制元件之自定義ViewGroup實現標籤雲(四)
宣告幾個屬性值:
    <declare-styleable name="GridImageViewGroup">
        <attr name="childVerticalSpace" format="dimension"/>
        <attr name="childHorizontalSpace" format="dimension"/>
        <attr name="columnNum" format="integer"/>
    </declare-styleable>
GridImageViewGroup.java 程式碼

public class GridImageViewGroup extends ViewGroup {
    private int childVerticalSpace = 0;
    private int childHorizontalSpace = 0;
    private int columnNum = 3;
    private int childWidth = 0;
    private int childHeight = 0;


    public GridImageViewGroup(Context context, AttributeSet attrs) {
        super(context, attrs);
        TypedArray attributes = context.obtainStyledAttributes(attrs, R.styleable.GridImageViewGroup);
        if (attributes != null) {
            childVerticalSpace = attributes.getDimensionPixelSize(R.styleable.GridImageViewGroup_childVerticalSpace, 0);
            childHorizontalSpace = attributes.getDimensionPixelSize(R.styleable.GridImageViewGroup_childHorizontalSpace, 0);
            columnNum = attributes.getInt(R.styleable.GridImageViewGroup_columnNum, 3);
            attributes.recycle();
        }
    }

    @Override
    protected void onMeasure(int widthMeasureSpec, int heightMeasureSpec) {
        super.onMeasure(widthMeasureSpec, heightMeasureSpec);
        int rw = MeasureSpec.getSize(widthMeasureSpec);
        int rh = MeasureSpec.getSize(heightMeasureSpec);
        int childCount = getChildCount();
        if (childCount > 0) {
            childWidth = (rw - (columnNum - 1) * childHorizontalSpace) / columnNum;

            childHeight = childWidth;

            int vw = rw;
            if (childCount < columnNum) {
                vw = childCount * (childHeight + childVerticalSpace);
            }
            int rowCount = childCount / columnNum + (childCount % columnNum != 0 ? 1 : 0);

            int vh = rowCount * childHeight + (rowCount > 0 ? rowCount - 1 : 0) * childVerticalSpace;

            setMeasuredDimension(vw, vh);
        }
    }

    @Override
    protected void onLayout(boolean changed, int l, int t, int r, int b) {
        int left = 0;
        int top = 0;
        int count = getChildCount();
        for (int i = 0; i < count; i++) {
            View child = getChildAt(i);
            left = (i % columnNum) * (childWidth + childHorizontalSpace);
            top = (i / columnNum) * (childHeight + childVerticalSpace);
            child.layout(left, top, left + childWidth, top + childHeight);
        }
    }
在xml中引用:
<com.whoislcj.animation.GridImageViewGroup
            android:id="@+id/image_layout"
            android:layout_width="match_parent"
            android:layout_height="wrap_content"
            android:layout_margin="10dp"
            android:animateLayoutChanges="true"
            lee:childHorizontalSpace="10dp"
            lee:childVerticalSpace="10dp"
            lee:columnNum="3"/>
在Activity中呼叫:
 private void initViews() {
        mImageViewGroup = (GridImageViewGroup) findViewById(R.id.image_layout);
        ImageView imageView = new ImageView(this);
        imageView.setImageResource(R.mipmap.add_image);
        imageView.setOnClickListener(new View.OnClickListener() {
            @Override
            public void onClick(View v) {
                addImageView();
            }
        });
        mImageViewGroup.addView(imageView);
    }

    public void addImageView() {
        final ImageView imageView = new ImageView(MainActivity4.this);
        imageView.setImageResource(R.mipmap.lottery);
        imageView.setOnClickListener(new View.OnClickListener() {
            @Override
            public void onClick(View v) {
                mImageViewGroup.removeView(imageView);
            }
        });
        mImageViewGroup.addView(imageView, 0);
    }
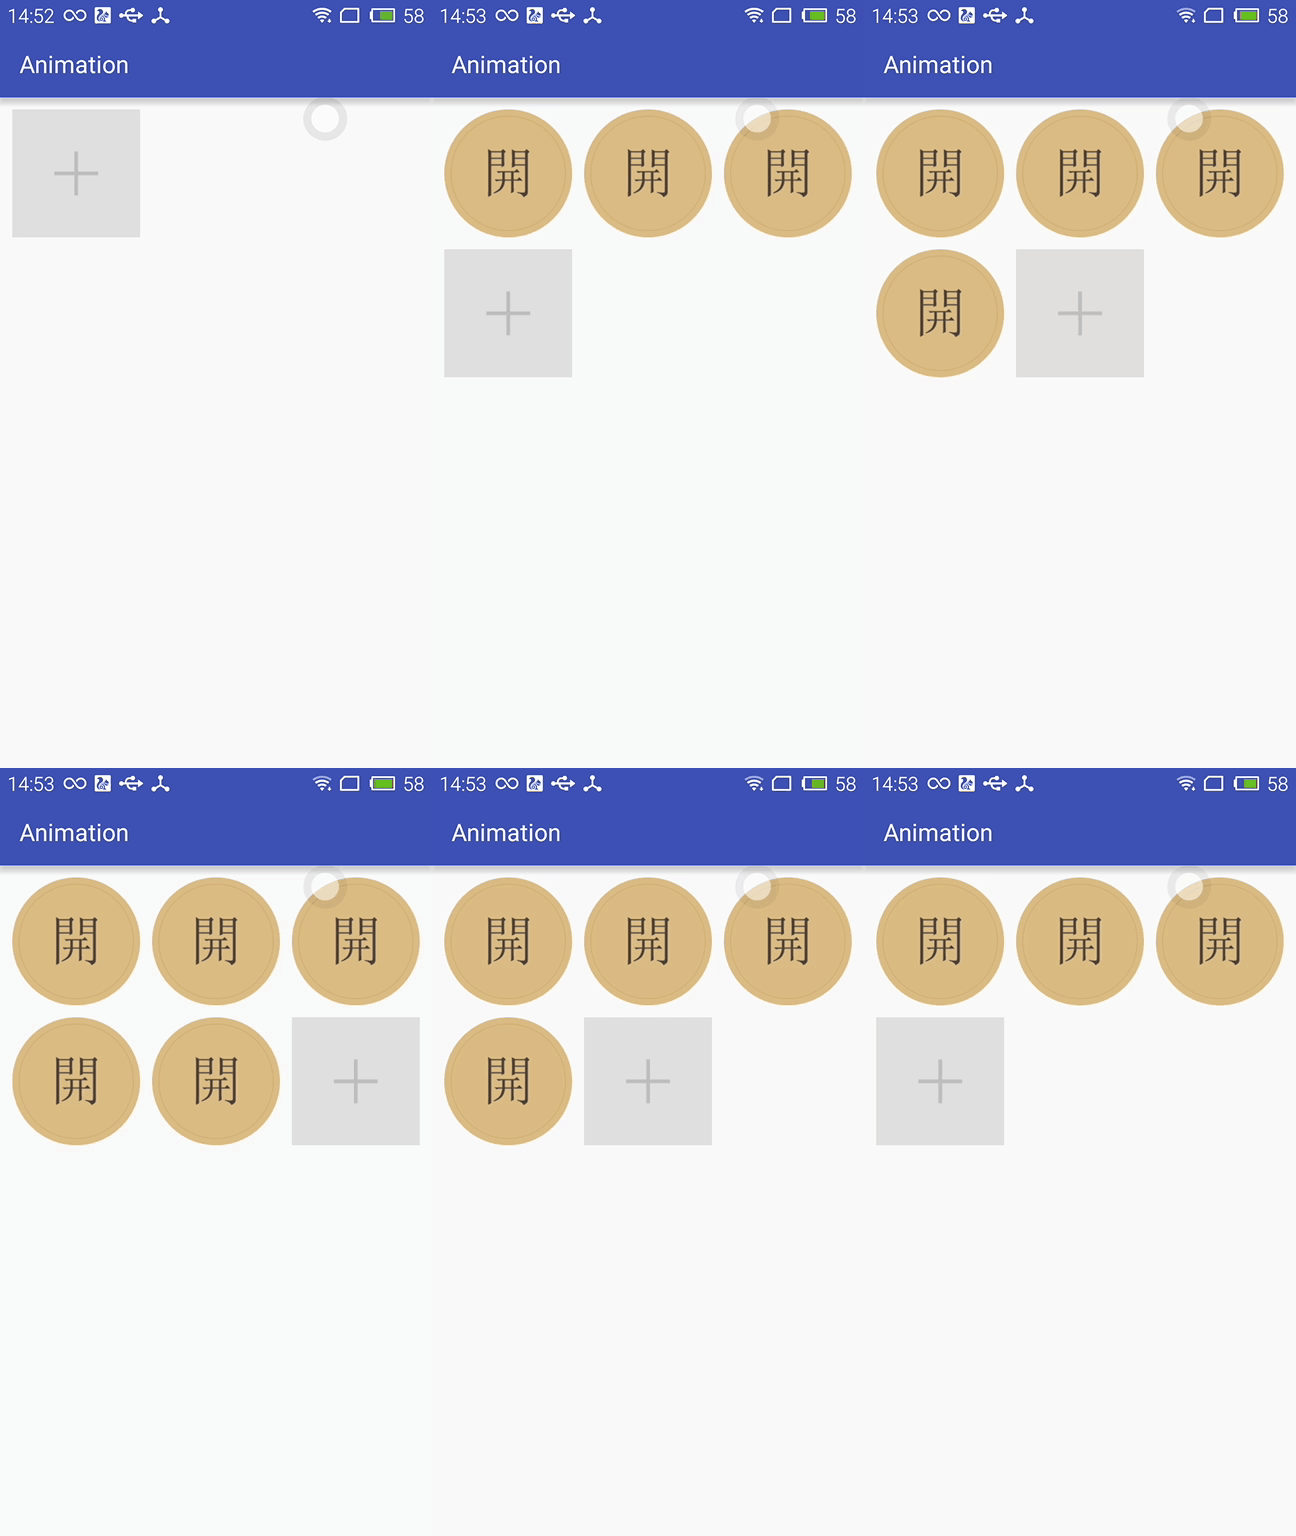
實現效果如下:

佈局動畫產生的背景:
凡事總要問個明白,為何要引入佈局動畫呢?其實通過上面的實現效果可以看出,在新增和刪除圖片時都顯得很突兀,不知道該用什麼語言形容了,總之就是感覺不舒服。其實我平時在開發中呼叫View.setVisibility()方法時也會有這種感受,這也是佈局動畫產生的一個背景吧。
佈局動畫:
佈局動畫是指ViewGroup在佈局時產生的動畫效果 。實現佈局動畫有如下幾種方式
第一種方式:在xml中,對ViewGrope設定android:animateLayoutChanges="true"屬性:
    <com.whoislcj.animation.GridImageViewGroup
            android:id="@+id/image_layout"
            android:layout_width="match_parent"
            android:layout_height="wrap_content"
            android:layout_margin="10dp"
            android:animateLayoutChanges="true"
            lee:childHorizontalSpace="10dp"
            lee:childVerticalSpace="10dp"
            lee:columnNum="3"/>
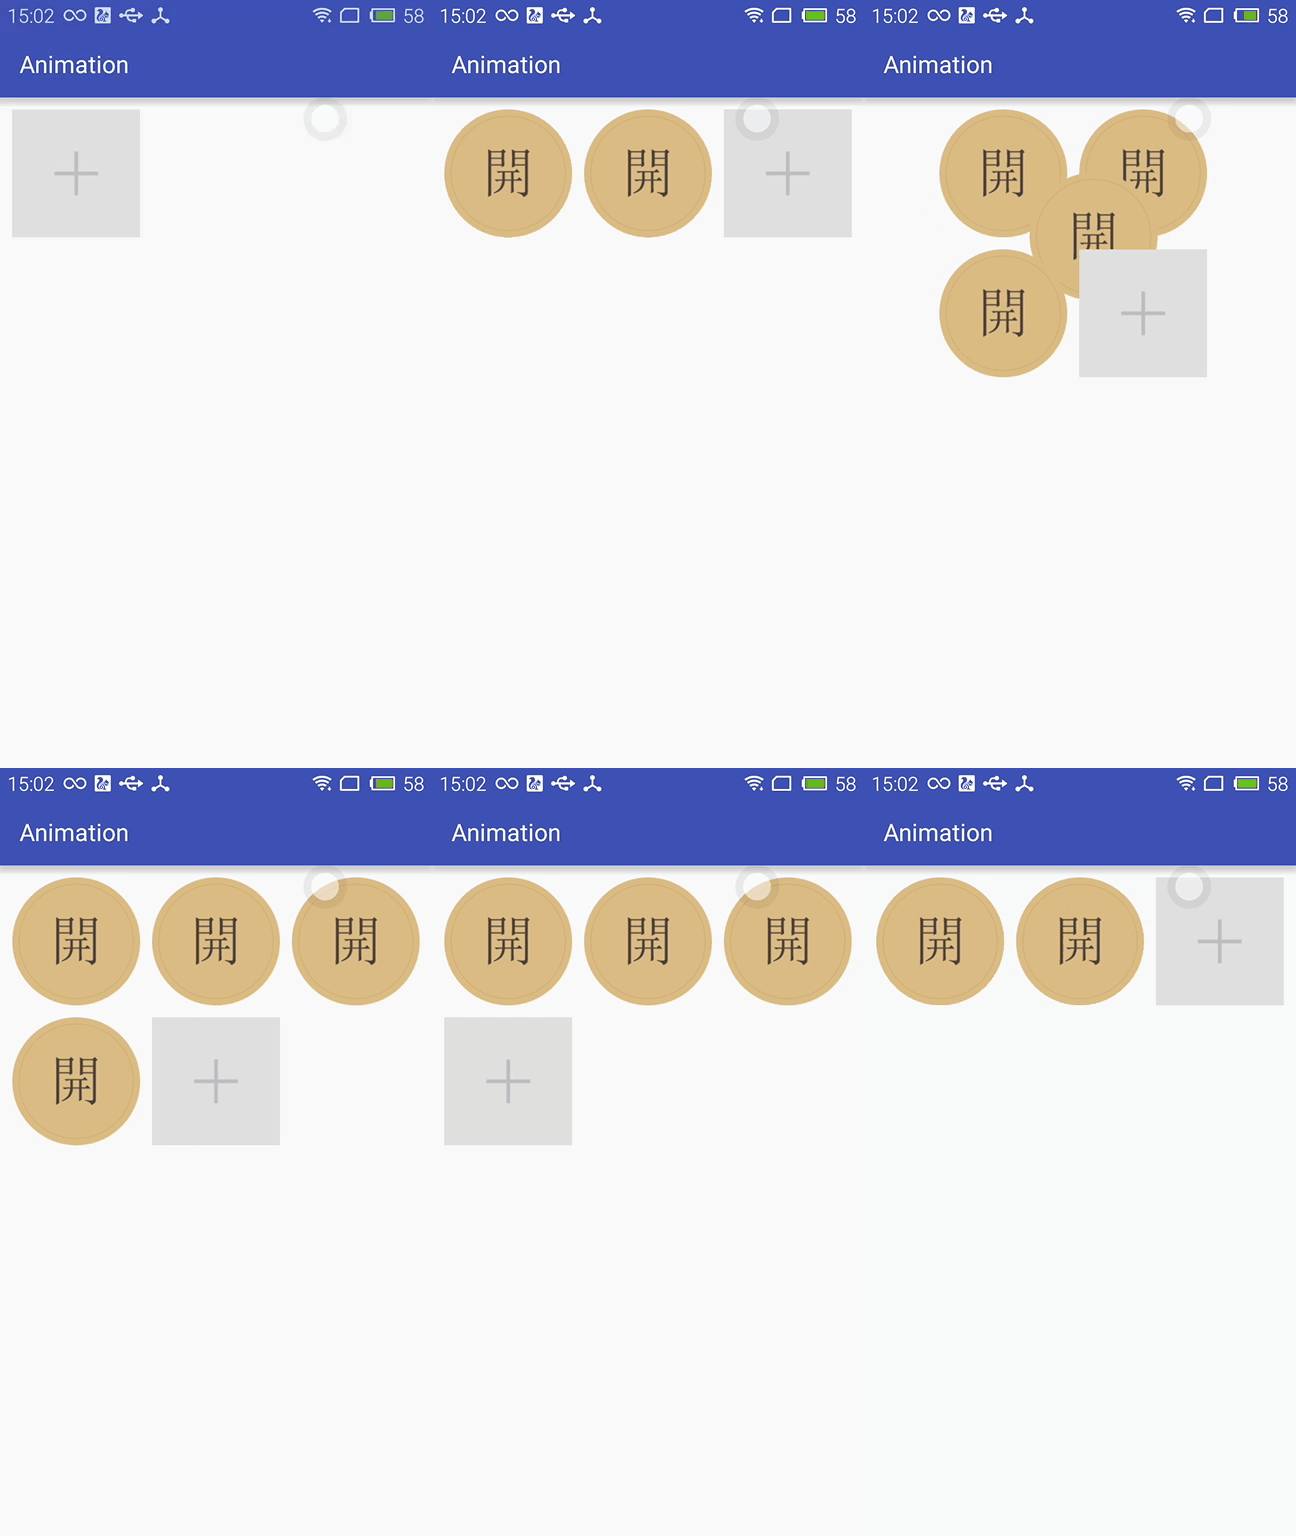
就這麼簡單的一句話實現的效果就可以實現了,看看效果如何

這種方式雖然簡單但是實現的佈局動畫比較單一,下面看第二種方式。
第二種方式:LayoutTransition實現
 LayoutTransition mLayoutTransition = new LayoutTransition();

        //設定每個動畫持續的時間
        mLayoutTransition.setStagger(LayoutTransition.CHANGE_APPEARING, 50);
        mLayoutTransition.setStagger(LayoutTransition.CHANGE_DISAPPEARING, 50);
        mLayoutTransition.setStagger(LayoutTransition.APPEARING, 50);
        mLayoutTransition.setStagger(LayoutTransition.DISAPPEARING, 50);

        PropertyValuesHolder appearingScaleX = PropertyValuesHolder.ofFloat("scaleX", 0.5f, 1.0f);
        PropertyValuesHolder appearingScaleY = PropertyValuesHolder.ofFloat("scaleY", 0.5f, 1.0f);
        PropertyValuesHolder appearingAlpha = PropertyValuesHolder.ofFloat("alpha", 0f, 1f);
        ObjectAnimator mAnimatorAppearing = ObjectAnimator.ofPropertyValuesHolder(this, appearingAlpha, appearingScaleX, appearingScaleY);
        //為LayoutTransition設定動畫及動畫型別
        mLayoutTransition.setAnimator(LayoutTransition.APPEARING, mAnimatorAppearing);


        PropertyValuesHolder disappearingAlpha = PropertyValuesHolder.ofFloat("alpha", 1f, 0f);
        PropertyValuesHolder disappearingRotationY = PropertyValuesHolder.ofFloat("rotationY", 0.0f, 90.0f);
        ObjectAnimator mAnimatorDisappearing = ObjectAnimator.ofPropertyValuesHolder(this, disappearingAlpha, disappearingRotationY);
        //為LayoutTransition設定動畫及動畫型別
        mLayoutTransition.setAnimator(LayoutTransition.DISAPPEARING, mAnimatorDisappearing);


        ObjectAnimator mAnimatorChangeDisappearing = ObjectAnimator.ofFloat(null, "alpha", 1f, 0f);
        //為LayoutTransition設定動畫及動畫型別
        mLayoutTransition.setAnimator(LayoutTransition.CHANGE_DISAPPEARING, mAnimatorChangeDisappearing);

        ObjectAnimator mAnimatorChangeAppearing = ObjectAnimator.ofFloat(null, "alpha", 1f, 0f);
        //為LayoutTransition設定動畫及動畫型別
        mLayoutTransition.setAnimator(LayoutTransition.CHANGE_APPEARING, mAnimatorChangeAppearing);

        //為mImageViewGroup設定mLayoutTransition物件
        mImageViewGroup.setLayoutTransition(mLayoutTransition);
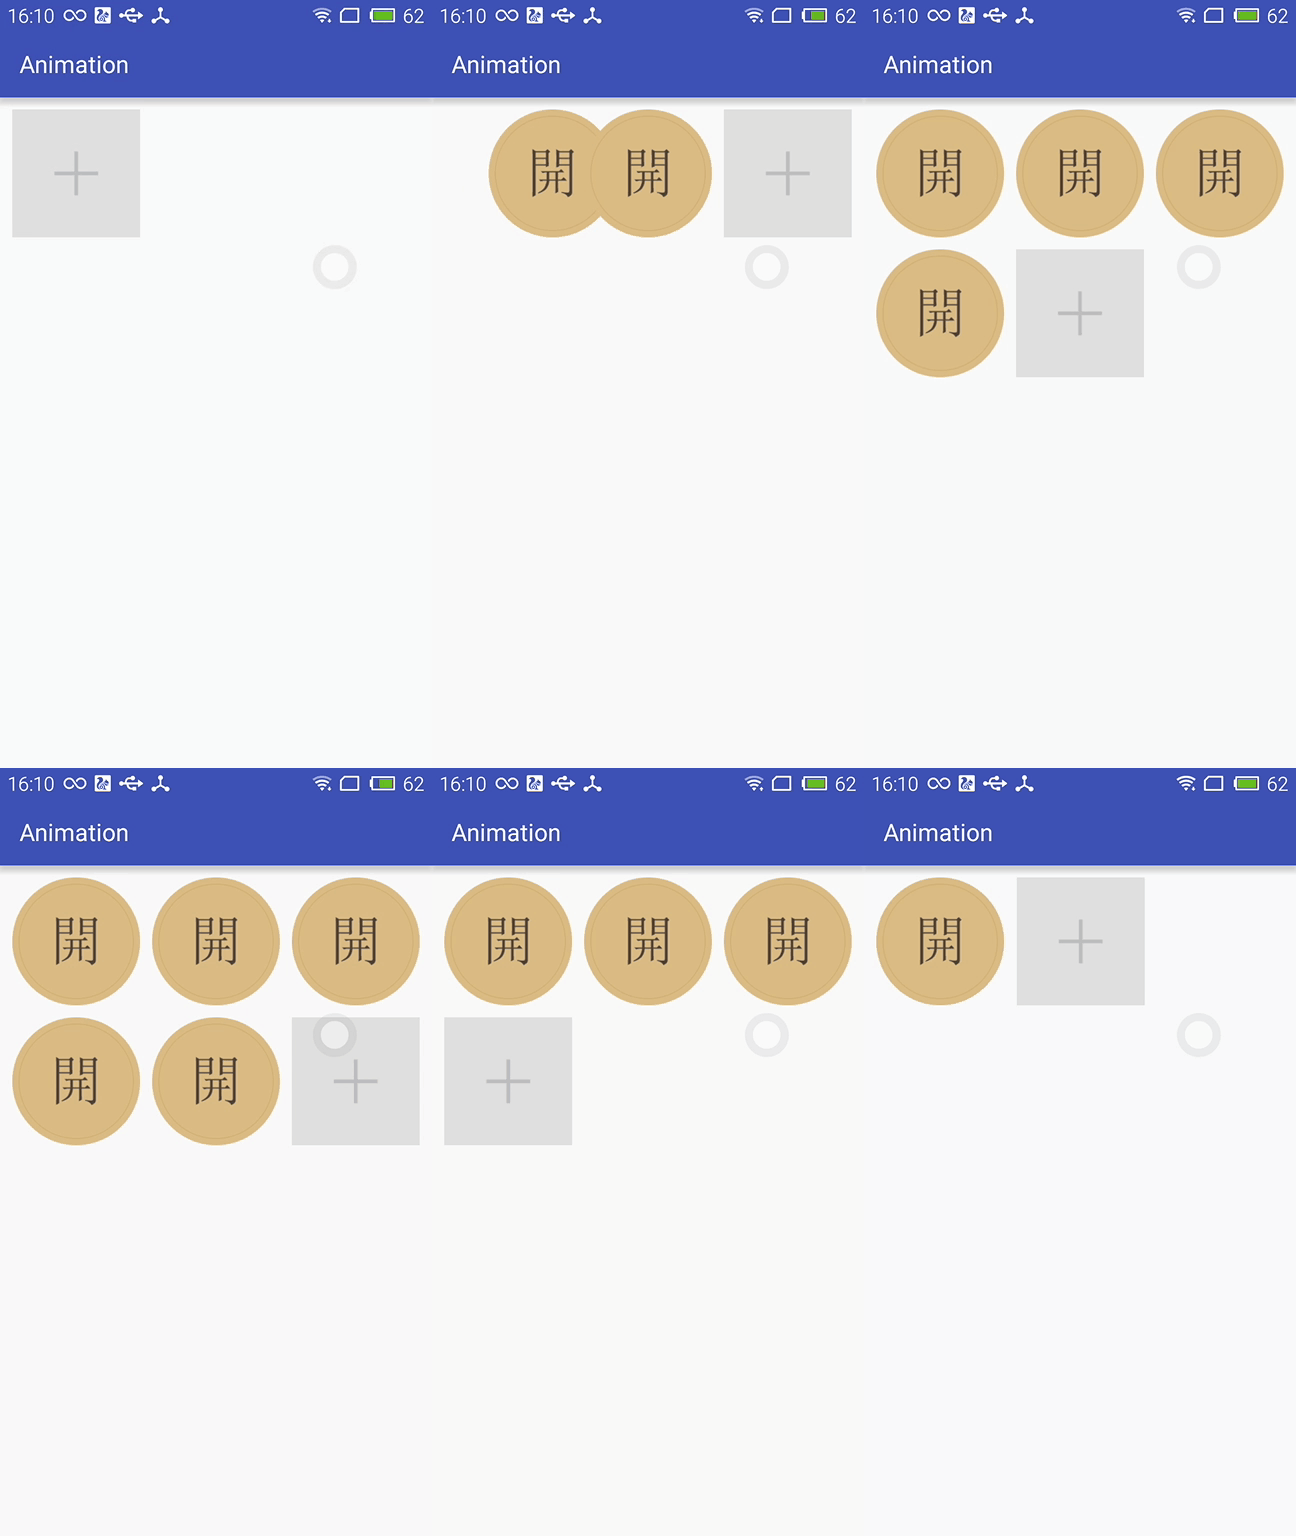
上面通過自定義LayoutTransition 修改系統提高的預設動畫效果,如果不需要自定義的動畫效果的話,不呼叫mLayoutTransition.setAnimator(LayoutTransition.DISAPPEARING, mAnimatorDisappearing);就行了。
LayoutTransition 提供了以下幾種過渡型別:
- APPEARING —— 元素在容器中顯現時需要動畫顯示。
- CHANGE_APPEARING —— 由於容器中要顯現一個新的元素,其它元素的變化需要動畫顯示。
- DISAPPEARING —— 元素在容器中消失時需要動畫顯示。
- CHANGE_DISAPPEARING —— 由於容器中某個元素要消失,其它元素的變化需要動畫顯示。
看下修改過的動畫效果:

第三種方式:通過設定LayoutAnimation來實現佈局動畫
 AlphaAnimation alphaAnimation = new AlphaAnimation(0f, 1f);
        alphaAnimation.setDuration(200);
        LayoutAnimationController animationController = new LayoutAnimationController(alphaAnimation, 0.5f);
        animationController.setOrder(LayoutAnimationController.ORDER_NORMAL);
        mImageViewGroup.setLayoutAnimation(animationController);
顯示順序有以下幾種:
- ORDER_NORMAL;//順序顯示
- ORDER_REVERSE;//反顯示
- ORDER_RANDOM//隨機顯示
也可以通過xml實現
<?xml version="1.0" encoding="utf-8"?>
<layoutAnimation
    xmlns:android="http://schemas.android.com/apk/res/android"
    android:delay="0.5"
    android:animationOrder="normal"
    android:animation="@anim/alpha"
    />
ViewGroup xml新增android:layoutAnimation屬性
    <com.whoislcj.animation.GridImageViewGroup
            android:id="@+id/image_layout"
            android:layout_width="match_parent"
            android:layout_height="wrap_content"
            android:layout_margin="10dp"
            android:layoutAnimation="@anim/layoutanimation"
            lee:childHorizontalSpace="10dp"
            lee:childVerticalSpace="10dp"
            lee:columnNum="3"/>
由於這種方式採用的是補間動畫,個人不再推薦使用這種方式,原因很簡單實現的動畫效果相對單一。
總結:
本篇學習了佈局動畫,自此Android的動畫學習也將告一段落了,接下來準備總結一下學習動畫的過程中遇見的程式設計知識,比如鏈式程式設計,TreadLocal等。
