為什麼要認識Vue的生命週期
Vue的生命週期是一個非常重要的點,如果不懂Vue的生命週期,那麼很多時候,就不知道Vue的實際渲染時機,程式中會出現各種bug。
因此,學習Vue的生命週期是非常用必要的。
簡單認識生命週期
前期準備
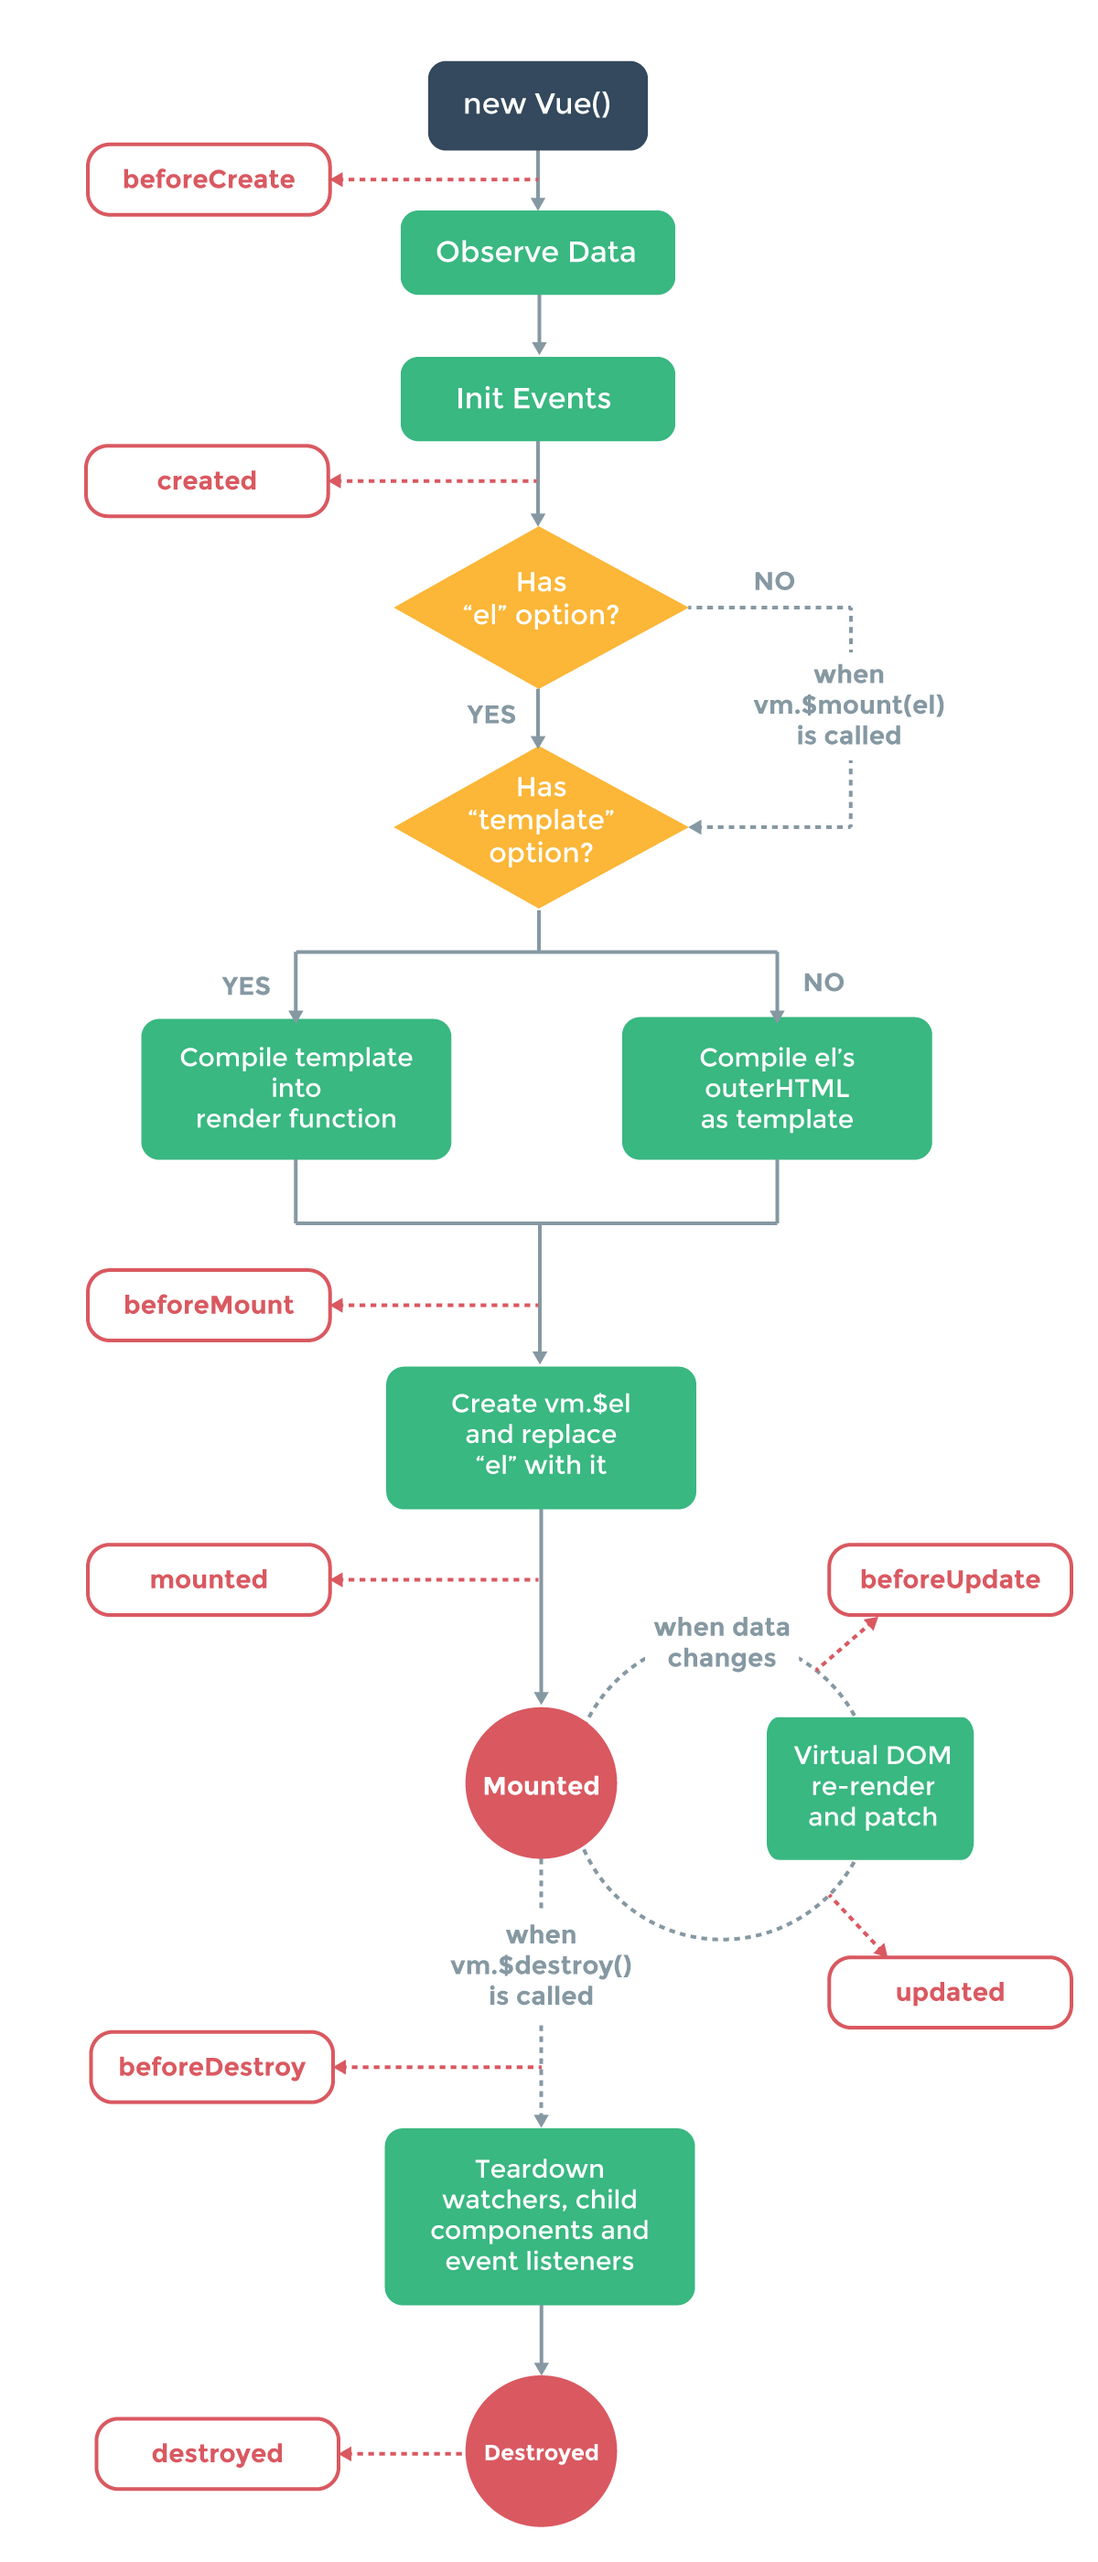
下面我們來畫一個簡單的生命週期圖:
              new Vue()
                 ||
                 ||
                 ||
          初始化event和watch
                 ||
                 ||=====> beforeCreate
                 ||
       屬性、方法、資料等內容的計算
                 ||
                 ||=====> created
                 ||
              存在el選項
                 ||
                 ||
                 ||
          不存在template選項
                 ||
                 ||=====> beforeMount
                 ||
         建立vm.$el替換el選項
                 ||
                 ||=====> mounted
                 ||
            當內容發生更新
                 ||
                 ||=====> beforeUpdate
                 ||
           虛擬DOM重新渲染
                 ||
                 ||=====> updated
                 ||
         呼叫vm.$destroy()
                 ||
                 ||=====> beforeDestroy
                 ||
     解除安裝watcher、子元件和事件監聽=====> destroyed
生命週期圖完成之後,根據這張圖來寫對應的程式碼:
<!DOCTYPE html>
<html lang="en">

<head>
  <meta charset="UTF-8">
  <meta name="viewport" content="width=device-width, initial-scale=1.0">
  <meta http-equiv="X-UA-Compatible" content="ie=edge">
  <title>vue生命週期學習</title>
  <script src="https://cdn.bootcss.com/vue/2.4.2/vue.js"></script>
</head>

<body>
  <div id="app">
    <h1>{{message}}</h1>
    <ul>
      <li v-for="item in arr">{{item}}</li>
    </ul>
  </div>
</body>
<script>
  var vm = new Vue({
    el: `#app`, // 存在el選項,沒有template選項
    data: {
      message: `Vue的生命週期`,
      arr: [`a`, `b`, `c`]
    },
    beforeCreate: function () {
      console.group(`<====== beforeCreate ======>`)
      console.log("%c%s", "color:red", "el     : ", this.$el)
      console.log("%c%s", "color:red", "data   : ", this.$data)
      console.groupEnd(`<====== beforeCreate ======>`)
    },
    created: function () {
      console.group(`<====== created ======>`)
      console.log("%c%s", "color:red", "el     : ", this.$el)
      console.log("%c%s", "color:red", "data   : ", this.$data)
      console.groupEnd(`<====== created ======>`)
    },
    beforeMount: function () {
      console.group(`<====== beforeMount ======>`)
      console.log("%c%s", "color:red", "el     : ", this.$el)
      console.log("%c%s", "color:red", "data   : ", this.$data)
      console.groupEnd(`<====== beforeMount ======>`)
    },
    mounted: function () {
      console.group(`<====== mounted ======>`)
      console.log("%c%s", "color:red", "el     : ", this.$el)
      console.log("%c%s", "color:red", "data   : ", this.$data)
      console.groupEnd(`<====== mounted ======>`)
    },
    beforeUpdate: function () {
      console.group(`<====== beforeUpdate ======>`)
      console.log("%c%s", "color:red", "el     : ", this.$el)
      console.log("%c%s", "color:red", "data   : ", this.$data)
      console.groupEnd(`<====== beforeUpdate ======>`)
    },
    updated: function () {
      console.group(`<====== updated ======>`)
      console.log("%c%s", "color:red", "el     : ", this.$el)
      console.log("%c%s", "color:red", "data   : ", this.$data)
      console.groupEnd(`<====== updated ======>`)
    },
    beforeDestroy: function () {
      console.group(`<====== beforeDestroy ======>`)
      console.log("%c%s", "color:red", "el     : ", this.$el)
      console.log("%c%s", "color:red", "data   : ", this.$data)
      console.groupEnd(`<====== beforeDestroy ======>`)
    },
    destroyed: function () {
      console.group(`<====== destroyed ======>`)
      console.log("%c%s", "color:red", "el     : ", this.$el)
      console.log("%c%s", "color:red", "data   : ", this.$data)
      console.groupEnd(`<====== destroyed ======>`)
    }
  })
</script>

</html>
從頭到尾看生命週期
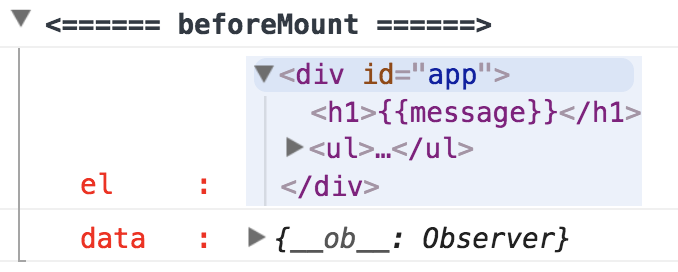
執行上面的程式,會在控制檯中看到前四個生命週期鉤子:
1.beforeCreate
在這個階段,Vue例項中的事件監聽和watch都已經初始化完成了。如果在Vue例項中寫一個watch,就可以清晰的看出來了。
2.created
在這個階段,Vue例項中的data、methods等內容都已經初始化完成了。
3.beforeMount
這個階段會進行模板的渲染,把HTML結構渲染出來,但是Vue例項中的資料沒有渲染到DOM中。
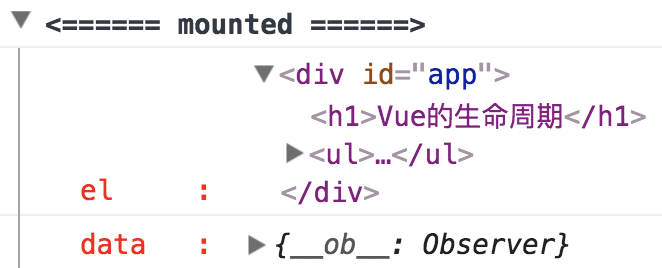
4.mounted
在這個階段,el被新建立的vm.$el替換,並掛在到例項上去之後呼叫該鉤子函式。這個時候,Vue例項中的data會被渲染到DOM中。
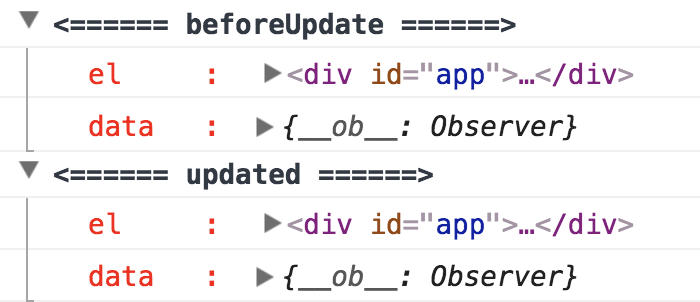
5.beforeUpdate和updated
下面,手動更新資料,來呼叫其他的鉤子函式。
// 在控制檯巨集輸入
vm.message=`123`
在這個階段,會更新資料,並重新渲染DOM和虛擬DOM。
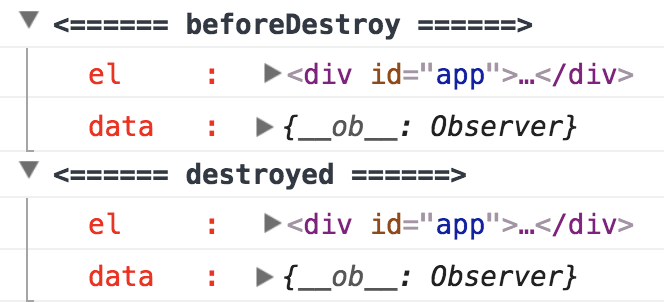
6.beforeDestroy和destroyed
下面手動呼叫:
// 在控制檯中輸入
vm.$destroy()
在這個階段會銷燬Vue例項,生命週期結束。
Vue例項中的template
Vue例項中不存在template
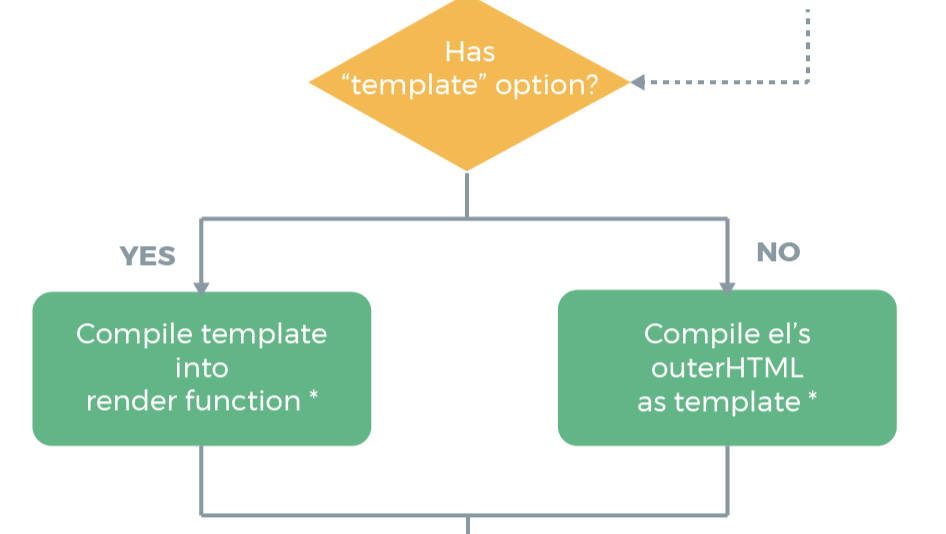
如果Vue中不存在template選項,那麼會把外部的HTML作為template進行渲染。
<body>
  <div id="app">
    <h1>外部HTML : {{message}}</h1>
  </div>
</body>
<script>
  var vm = new Vue({
    el: `#app`,
    data: {
      message: `this is a message`
    }
  })
</script>
顯示的效果:
Vue例項中存在template
如果Vue例項中存在template,那麼就會優先使用Vue例項中的template作為模板進行渲染。
<body>
  <div id="app">
    <h1>外部HTML : {{message}}</h1>
  </div>
</body>
<script>
  var vm = new Vue({
    el: `#app`,
    template: "<h1>Vue例項中的template : {{message}}</h1>",
    data: {
      message: `this is a message`
    }
  })
</script>
顯示的效果:
Vue例項中存在render函式
但是render函式更接近底層渲染機制,因此,存在render函式的話,render函式的優先順序最高。
<body>
  <div id="app">
    <h1>外部HTML : {{message}}</h1>
  </div>
</body>
<script>
  var vm = new Vue({
    el: `#app`,
    template: "<h1>Vue例項中的template : {{message}}</h1>",
    data: {
      message: `this is a message`
    },
    render: function (createElement) {
      return createElement(`h1`, `render函式 : ` + this.message)
    }
  })
</script>
顯示的效果:
