Asp.Net MVC4 系列--進階篇之Helper(2)
本章接著介紹Asp.NetMVC4中的Helper
首先做準備工作,為了讀者方便閱讀,筆者把上篇文章中(Asp.Net MVC4系列—進階篇之Helper(1)) 的程式碼再複製在這邊一份,這篇文章都以此為開始:
Person類(Model中):
  public class Person
    {
        public int PersonId { get; set; }
        public string FirstName { get; set; }
        public string LastName { get; set; }
        public DateTime BirthDate { get; set; }
        public Address HomeAddress { get; set; }
        public bool IsApproved { get; set; }
        public Role Role { get; set; }
    }
public class Address
{
public string Line1 { get; set; }
public string Line2 { get; set; }
public string City { get; set; }
public string PostalCode { get; set; }
public string Country { get; set; }
}
public enum Role
{
Admin,
User,
Guest
}PersonController.cs
   public class PersonController : Controller
   {
        public ActionResult CreatePerson()
        {
            return View(new Person());
        }

        [HttpPost]
        public ActionResult CreatePerson(Person person)
        {
            return View(person);
        }
   }
Route:
     routes.MapRoute(
name: "FormRoute",
url:"app/forms/{controller}/{action}"
);
        }
View(CreatePerson.cshtml)
<html>
@modelMVCHelperStudy.Models.Person
@{
   ViewBag.Title = "CreatePerson";

}
<h2>CreatePerson</h2>
<body>

   @using(Html.BeginRouteForm("FormRoute", new {},FormMethod.Post,
new { @class ="personClass", data_formType="person"})) {
<div  class="dataElem">
<label>PersonId</label>
@Html.TextBoxFor(m =>m.PersonId)
</div>
<div class="dataElem">
<label>FirstName</label>
@Html.TextBoxFor(m => m.FirstName)
</div>
<div class="dataElem">
<label>LastName</label>
@Html.TextBoxFor(m =>m.LastName)
</div>
<div class="dataElem">
<label>Role</label>
@Html.DropDownListFor(m =>m.Role,
new SelectList(Enum.GetNames(typeof(MVCHelperStudy.Models.Role))))
</div>
<input type="submit" value="Submit" />
}

</body>
</html>
測試執行:

首先,使用模板方法重構View
把表單中間程式碼替換為:
<div class="dataElem">
<label>PersonId</label>
@Html.Editor("PersonId")
</div>
<div class="dataElem">
<label>FirstName</label>
@Html.Editor("FirstName")
</div>
<div class="dataElem">
<label>LastName</label>
@Html.EditorFor(m =>m.LastName)
</div>
<div class="dataElem">
<label>Role</label>
@Html.EditorFor(m => m.Role)
</div>
<div class="dataElem">
<label>BirthDate</label>
@Html.EditorFor(m =>m.BirthDate)
</div>
程式碼說明:使用了Html.Editor替代以前的實現。
看一下生成的html
<form action="/app/forms/Person/CreatePerson" class="personClass" data-formType="person" method="post"><div class="dataElem">
<label>PersonId</label>
<input  class="text-box single-line" data-val="true" data-val-number="The field PersonId must be anumber." data-val-required="The PersonId field is required."  id="PersonId" name="PersonId" type="number"  value="0" />
</div>
<div  class="dataElem">
<label>FirstName</label>
<input  class="text-box single-line" id="FirstName" name="FirstName" type="text" value="" />
</div>
<div class="dataElem">
<label>LastName</label>
<input class="text-boxsingle-line" id="LastName" name="LastName" type="text" value="" />
</div>
<div class="dataElem">
<label>Role</label>
<input class="text-boxsingle-line" data-val="true" data-val-required="The Rolefield is required." id="Role" name="Role" type="text" value="Admin" />
</div>
<div class="dataElem">
<label>BirthDate</label>
<input class="text-boxsingle-line" data-val="true" data-val-date="The fieldBirthDate must be a date." data-val-required="The BirthDate field isrequired." id="BirthDate" name="BirthDate" type="datetime" value="1/1/0001 12:00:00 AM" />
</div>
<input  type="submit" value="Submit" />
</form>
對比之前生成的html,區別就是多了“type”屬性,好處是它使得html5根據不同的type顯示不同,這需要支援html5的瀏覽器來實現。
常用的MVC模板helper方法
|
Html.Display(“name”) |
|
Html.DisplayFor(m=>m.name) |
|
Html.Editor(“name”) |
|
Html.EditorFor(m=>m.name) |
|
Html.Label(“name”) |
|
Html.LabelFor(m=>m.name) |
Label 方法和Display方法
調整Controller程式碼:
  public ActionResult CreatePerson()
        {

  return View(newPerson()
                {
                   FirstName = "iori",
                   LastName = "l",
                   PersonId = 100,
                   BirthDate = DateTime.Now.AddYears(-20)
                });
        }
返回一個預設的Person。
調整View程式碼:
<div class="dataElem">
@Html.Label("PersonId")
@Html.Display("PersonId")
</div>
<div class="dataElem">
@Html.Label("FirstName")
@Html.Display("FirstName")
</div>
<div class="dataElem">
@Html.LabelFor(m => m.LastName)
@Html.DisplayFor(m => m.LastName)
</div>
<div class="dataElem">
@Html.LabelFor(m => m.Role)
@Html.DisplayFor(m => m.Role)
</div>
<div class="dataElem">
@Html.LabelFor(m => m.BirthDate)
@Html.DisplayFor(m => m.BirthDate)
</div>
為了對比Display和Label,因此分別顯示。測試結果:
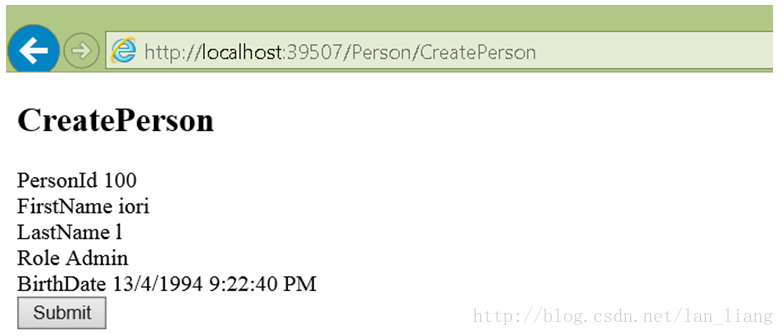
可以看到,Display是顯示Property的Value,而Label是顯示Property的Name
再對比一下生成的html:
<form action="/app/forms/Person/CreatePerson" class="personClass" data-formType="person" method="post">
<div class="dataElem">
<label for="PersonId">PersonId</label>
100
</div>
<div class="dataElem">
<label for="FirstName">FirstName</label>
iori
</div>
<div class="dataElem">
<label for="LastName">LastName</label>
l
</div>
<div class="dataElem">
<label for="Role">Role</label>
Admin
</div>
<div class="dataElem">
<label for="BirthDate">BirthDate</label>
13/4/1994 9:24:09 PM
</div>
<input type="submit"  value="Submit"/>
</form>
可以看到,label自動生成的for屬性,而display則直接把值打在了頁面上,甚至沒有conver任何標籤。
Whole-Model Template
Whole-Model Template 主要包括:
|
Html.DisplayForModel() |
根據當前model每個property的型別,生成相應html(只讀) |
|
Html.EditForModel() |
根據當前model的每個property的型別,生成相應可編輯的html |
|
Html.LabelForModel() |
根據當前的model生成標籤 |
使用Html.EditForModel重構View程式碼:
@using(Html.BeginRouteForm("FormRoute", new {},FormMethod.Post,
new { @class = "personClass",data_formType="person"})) {
@Html.EditorForModel()
<input type="submit" value="Submit" />
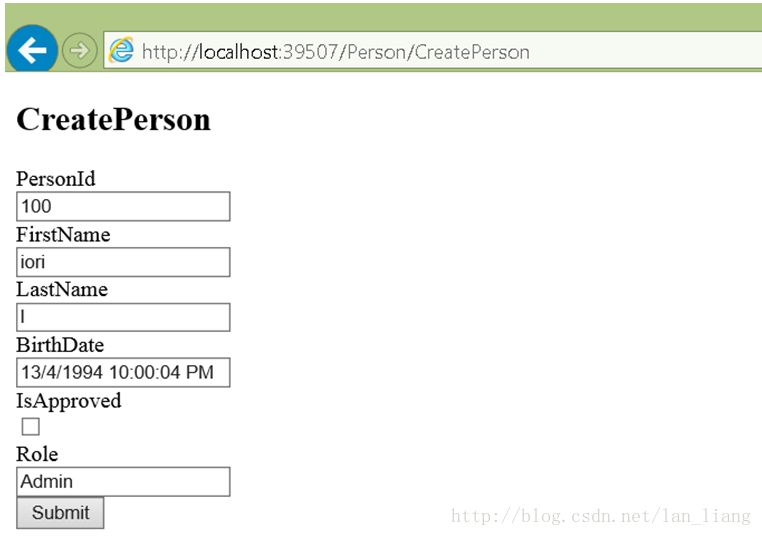
}執行,檢視結果
使用model metadata
1.hiddenInput
給PersonId加一個屬性:
[HiddenInput(DisplayValue=false)]
執行,測試:

點選submit
Debug檢視Person的值,可以看到PersonId被提交了,值為100。原因是我們的attribute告訴mvcframework把這個input解析為Hidden,檢視html:
<input data-val="true" data-val-number="The field PersonId must be a number. " data-val-required="The PersonId field is required." id="PersonId" name="PersonId" type="hidden" value="100"/>可以看到,type已經被解析為了hidden
使用[ScaffoldColumn]屬性
一個類中不是每個欄位都是需要mvc frame解析為html的,如果希望跳過某個property,可以使用這個屬性。例如:
[ScaffoldColumn(false)]
public int PersonId { get; set; }
這樣的話,PersonId根本不會參與從property解析到html的過程。
使用[Display(Name=”XXX”)]
如果希望html解析出來的Label顯示成別的字,可以使用這個屬性。例如:
[Display(Name = "Birth Date")]
public DateTime BirthDate { get; set; }
對應的html標籤:
<label for="BirthDate">BirthDate</label>使用 [DataType(type)]
如果想改變mvc frame 解析的型別,可以使用此屬性,例如:
[DataType(DataType.Date)]
public DateTime BirthDate { get; set; }
這樣mvc解析這個property就會當做Date型別,而不是DateTime了。
相應的html標籤:
<input class="text-boxsingle-line" data-val="true" data-val-date="The field BirthDate mustbe a date." data-val-required="The BirthDate field is required." id="BirthDate" name="BirthDate" type="date" value="13/4/1994" />其他DataType可以選擇的型別
|
DateTime |
|
Date |
|
Time |
|
Text |
|
PhoneNumber |
|
MultipleText |
|
Password |
|
Url |
|
EmailAddress |
使用[UIHint(“XX”)]屬性
UIHint屬性允許指定一個模板名稱,mvc framework解析的時候,看到這個屬性就會先找到對應的模板,再解析為相應的html,例如:
[UIHint("MultilineText")]
public  string FirstName { get; set; }
相應的html:
<textarea class="text-box multi-line" id="FirstName" name="FirstName">
iori</textarea>
MVC 自帶的模板
|
Boolean |
|
DateTime |
|
Date |
|
EmailAddress |
|
HiddenInput |
|
Html |
|
MultiLineText |
|
Number |
|
Object |
|
Password |
|
String |
|
Time |
|
Text |
|
Tel |
|
Url |
Mvc會為每個模板生成對應的html,讀者可以一一嘗試,根據自己的需要選擇的應用到專案中。每個模板,也是可以被重寫的。
使用metadata類
1 . 修改Person類為partial,去掉所有的DataType,Hint(就像一個Entity類):
  public int PersonId{ get; set; }
        public string FirstName { get; set; }
        public string LastName { get; set; }
        public DateTime BirthDate { get; set; }
        public Address HomeAddress { get; set; }
        public bool IsApproved { get; set; }
        public Role Role { get; set; }
為了給Person類應用metadata 型別,需要先將其設為partial
2.建立一個metadata 類
public partial class PersonMetaData {
[HiddenInput(DisplayValue=false)]
public int PersonId { get; set; }
[Display(Name="First")]
public string FirstName { get; set; }
[Display(Name = "Last")]
public string LastName { get; set; }
}
3.在Person類加上metadatatype屬性
[MetadataType(typeof(PersonMetaData))]
4.View 中使用EditFormModel
@using(Html.BeginRouteForm("FormRoute",new {}, FormMethod.Post,
new { @class = "personClass",data_formType="person"})) {
   @Html.EditorForModel()
<input  type="submit" value="Submit" />
}
使用metadata類的目的,希望Entity類和MVC Attribute標記過的類分開,但顯示的時候,希望MVCFramework會從medadata類中找到一致的Property,拿出Attribute應用。執行,檢視效果,
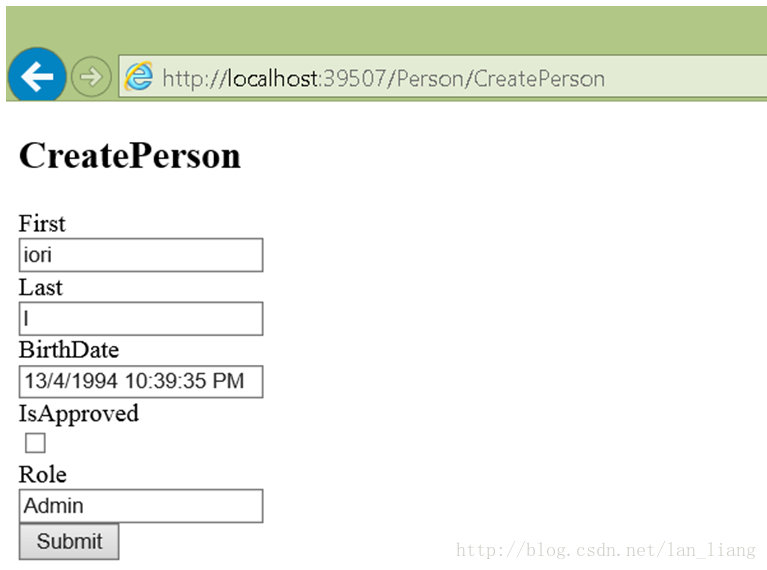
可以看到標籤名字變了,PersonId也隱藏了,因此Metadata類的Display標籤和Hidden標籤都產生了效果。
解析巢狀型別 : Address
前面的例子,由於HomeAddress欄位是class,因此MVCFramework沒有識別出來,因此需要手動去再呼叫一下EditFor:
  <p>
       @Html.EditorFor(m => m.HomeAddress)
</p>
執行:
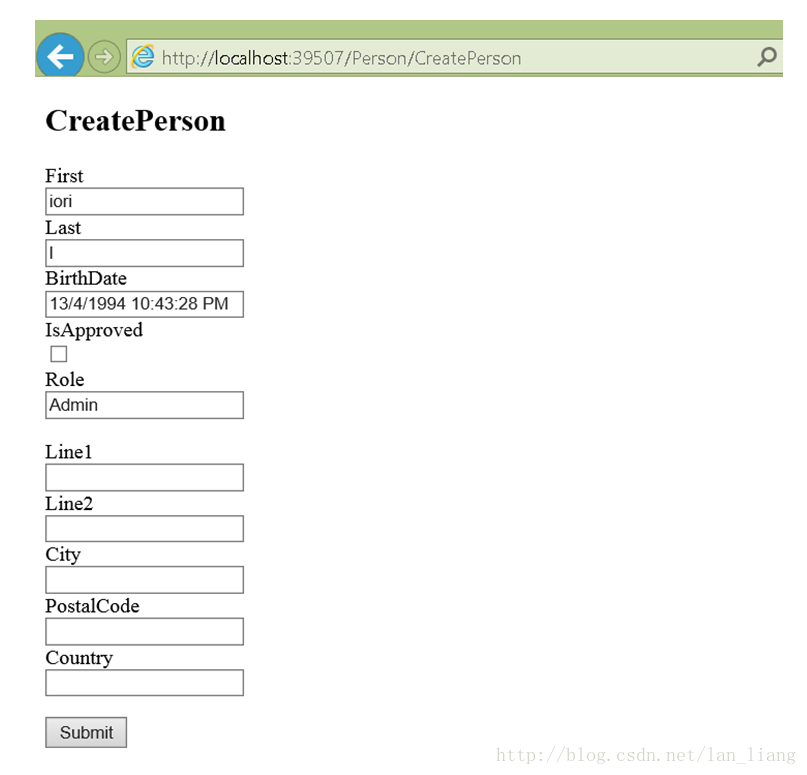
可以看到這樣Address型別就可以被識別了。
顯示指定Template
Html.EditorFor(m =>m.SomeProperty, "MyTemplate")
可以告訴MVC Framework,使用指定的Template。
Template的查詢順序
1.Customize的template
2.Built-in的template
3.傳入Helper的Template,e.g. : Html.EditorFor(m=>m.name,”T”);
4.UIHint
5.DataType
Customize一個Template
在Shared資料夾建一個EditorTemplates資料夾,因為所有的customize的template,MVCFramework都會來這裡找。
建立一個View放在EditorTemplates資料夾,可以反射出列舉的每一個成員並顯示:
@model Enum
@Html.DropDownListFor(m => m,Enum.GetValues(Model.GetType())
.Cast<Enum>()
.Select(m => {
string enumVal =Enum.GetName(Model.GetType(), m);
return new SelectListItem() {
Selected = (Model.ToString() ==enumVal),
Text = enumVal,
Value = enumVal
};
}))
應用,在metadata類給Role成員加UIHint
[UIHint("Enum")]
public Role Role { get; set; }
執行,檢視結果

可以看到,自定義的Template成功的工作了。
相關文章
- Asp.Net MVC4系列--進階篇之Helper(1)ASP.NETMVC
- Asp.Net MVC4 系列--進階篇之Model(2)ASP.NETMVC
- Asp.Net MVC4 系列--進階篇之Controller(2)ASP.NETMVCController
- Asp.Net MVC4系列--進階篇之AJAXASP.NETMVC
- Asp.Net MVC4 系列--進階篇之ViewASP.NETMVCView
- Asp.Net MVC4 系列--進階篇之路由 (2)ASP.NETMVC路由
- Asp.Net MVC4 系列--進階篇之Model(1)ASP.NETMVC
- Asp.Net MVC4 系列-- 進階篇之路由(1)ASP.NETMVC路由
- Asp.Net MVC 系列--進階篇之FilterASP.NETMVCFilter
- Asp.Net MVC系列--進階篇之controller(1)ASP.NETMVCController
- Asp.Net MVC4 系列--基礎篇(1)ASP.NETMVC
- Asp.Net MVC4系列---基礎篇(5)ASP.NETMVC
- Asp.Net MVC4系列---基礎篇(4)ASP.NETMVC
- 【webpack 系列】進階篇Web
- React進階篇2React
- Dagger 2 系列(五) -- 進階篇:@Scope 和 @Singleton
- Asp.Net MVC 系列--基礎篇(2)ASP.NETMVC
- vue2進階篇:vue-router之命名路由Vue路由
- Asp.Net MVC 學習心得 之 Html HelperASP.NETMVCHTML
- 測開之函式進階· 第2篇《純函式》函式
- Dagger2進階篇(二)
- .NET進階系列之四:深入DataTable
- 帶你深度解鎖Webpack系列(進階篇)Web
- 正規表示式系列之中級進階篇
- SpringCloud-OAuth2(三):進階篇SpringGCCloudOAuth
- Java多執行緒之進階篇Java執行緒
- Membership三步曲之進階篇
- Java進階篇 設計模式之十四 ----- 總結篇Java設計模式
- to debug asp.net mvc4ASP.NETMVC
- 你所不知道的ASP.NET Core進階系列(三)ASP.NET
- create table進階學習系列(十一)之cluster
- Linux ACL 許可權之進階篇Linux
- ASP.NET進階:認清控制元件 之 Button (轉)ASP.NET控制元件
- 高階前端進階系列 - webview前端WebView
- TypeScript極速完全進階指南-2中級篇TypeScript
- [ASP.NET MVC 小牛之路]13 - Helper MethodASP.NETMVC
- [一天一個進階系列] - MyBatis基礎篇MyBatis
- Three.js進階篇之6 - 碰撞檢測JS